
“In Color” series by Sun Books.
Sanborn Maps in Library of Congress
“In Color” series by Sun Books.
Sanborn Maps in Library of Congress
Since getting back into modeling a few years ago, I’ve done most of my hands-on work from approximately December through April each year, when I have a lot of free time to myself, as my husband spends most of those weekends snowboarding, and takes multiple week-long, or long weekend snowboarding trips outside of the area. Just as snowboarding season comes to an end, other priorities begin to take up our time. Gardening, projects around the house, hosting an annual Pride party, smaller rooftop gatherings, croquet at the park, and all the other fun things we do in the summer have to be crammed into the three months of gorgeous weather we get in Seattle before the clouds and drizzle return in October. As it’s now the end of April, I thought I’d put an official end to the Winter 2018-2019 modeling season by reviewing the accomplishments and noting what’s up next, when the 19-20 season begins later this year.
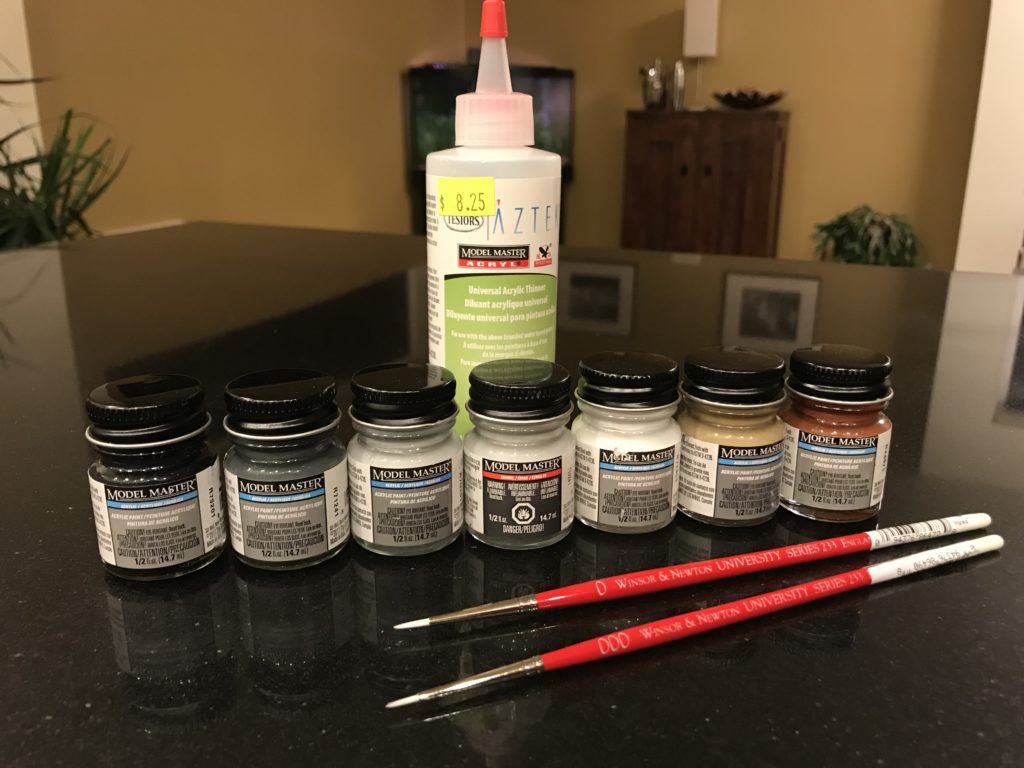
The season officially began in late August when I began purchasing my first model paint in decades (via eBay). I slowly built up some basic supplies, including paint, brushes, pipettes, thinner and decal solutions. At this point I realized I’d need …
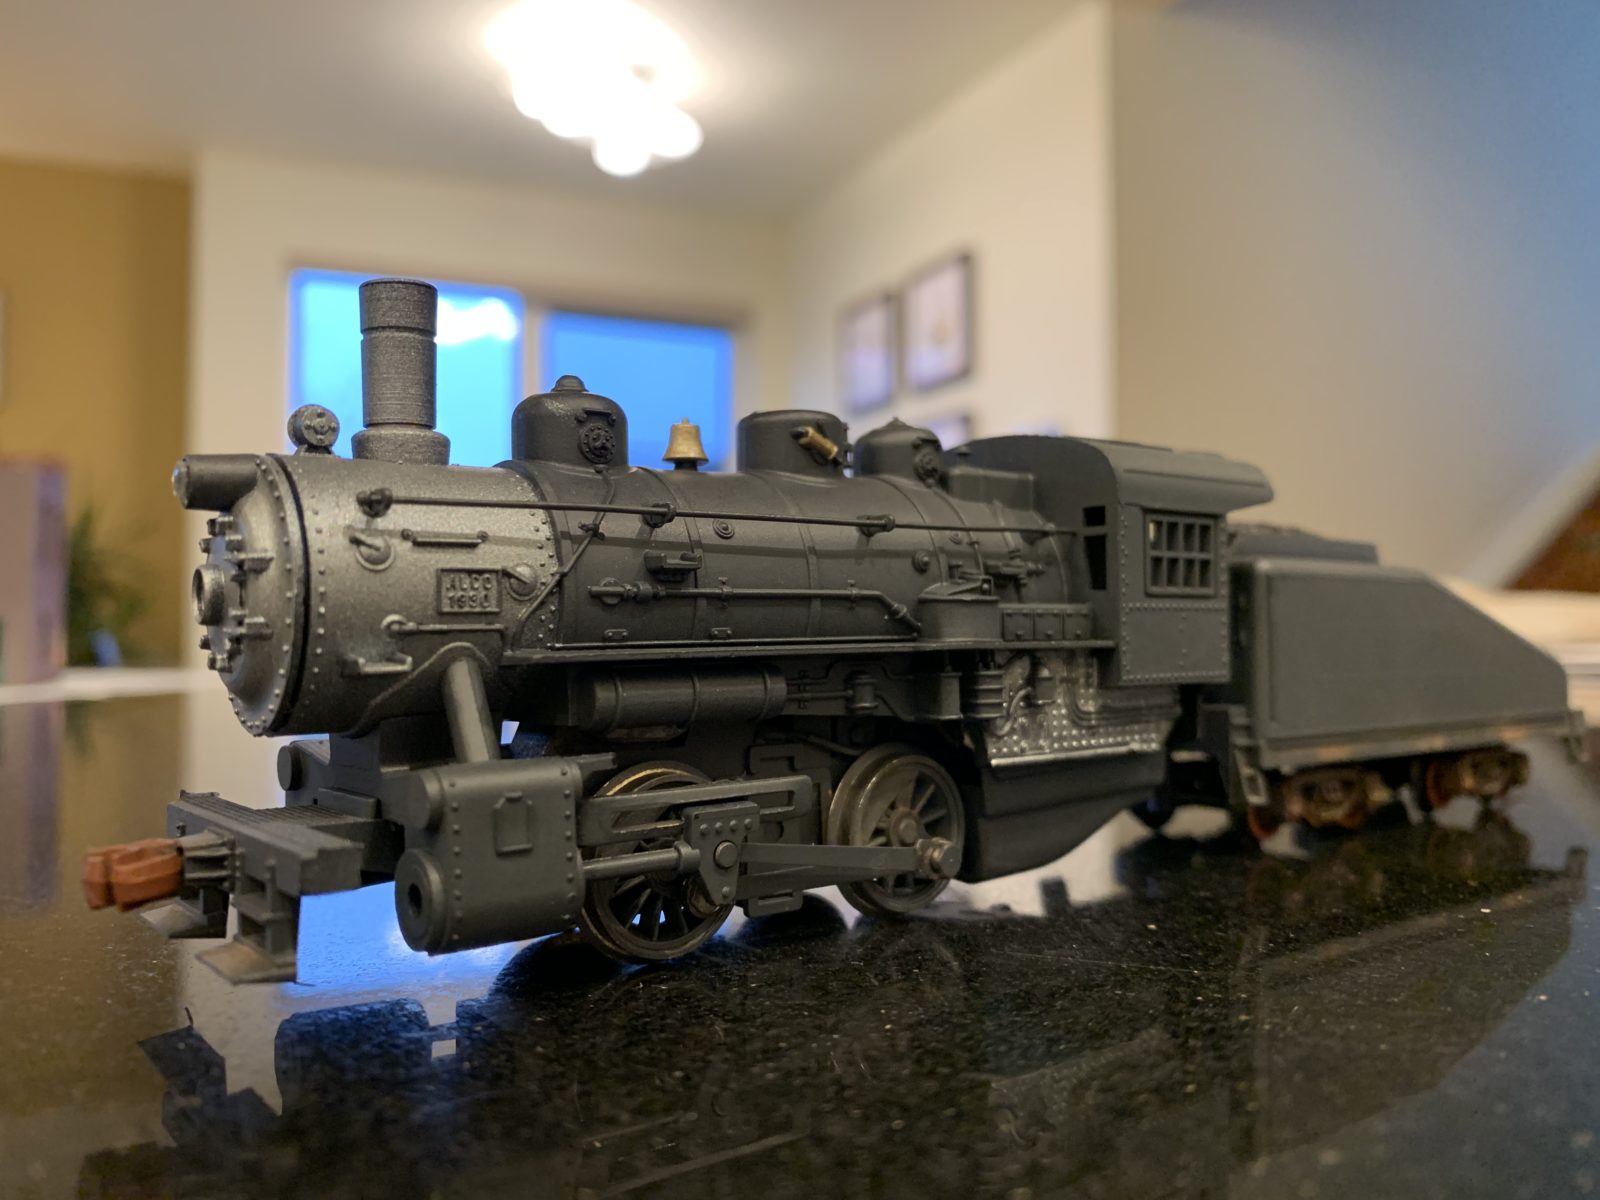
One of the ways in which I’m preparing for a future model railroad is by practicing weathering techniques, which is an aspect of modeling that I had always admired but never attempted. Over the past couple of years, I’ve purchased several low-price, old models to practice on. They’re copies of some of the models made in the 1970s that my dad had when I first became interested in model railroads. Depending on how they turn out, I might end up using some of them on a future layout, but since they’re models of locomotives built at from around 1915 through the late 60s, and my next layout will certainly model some time from the mid-30s to mid-40s, I certainly won’t use all of them. At the very least, the steam engines might be useful just sitting on the track somewhere as scenery, to help fill out a yard or engine house until I have enough higher-quality models to replace them with. Most importantly, they’re cheap models to practice on.
The first …
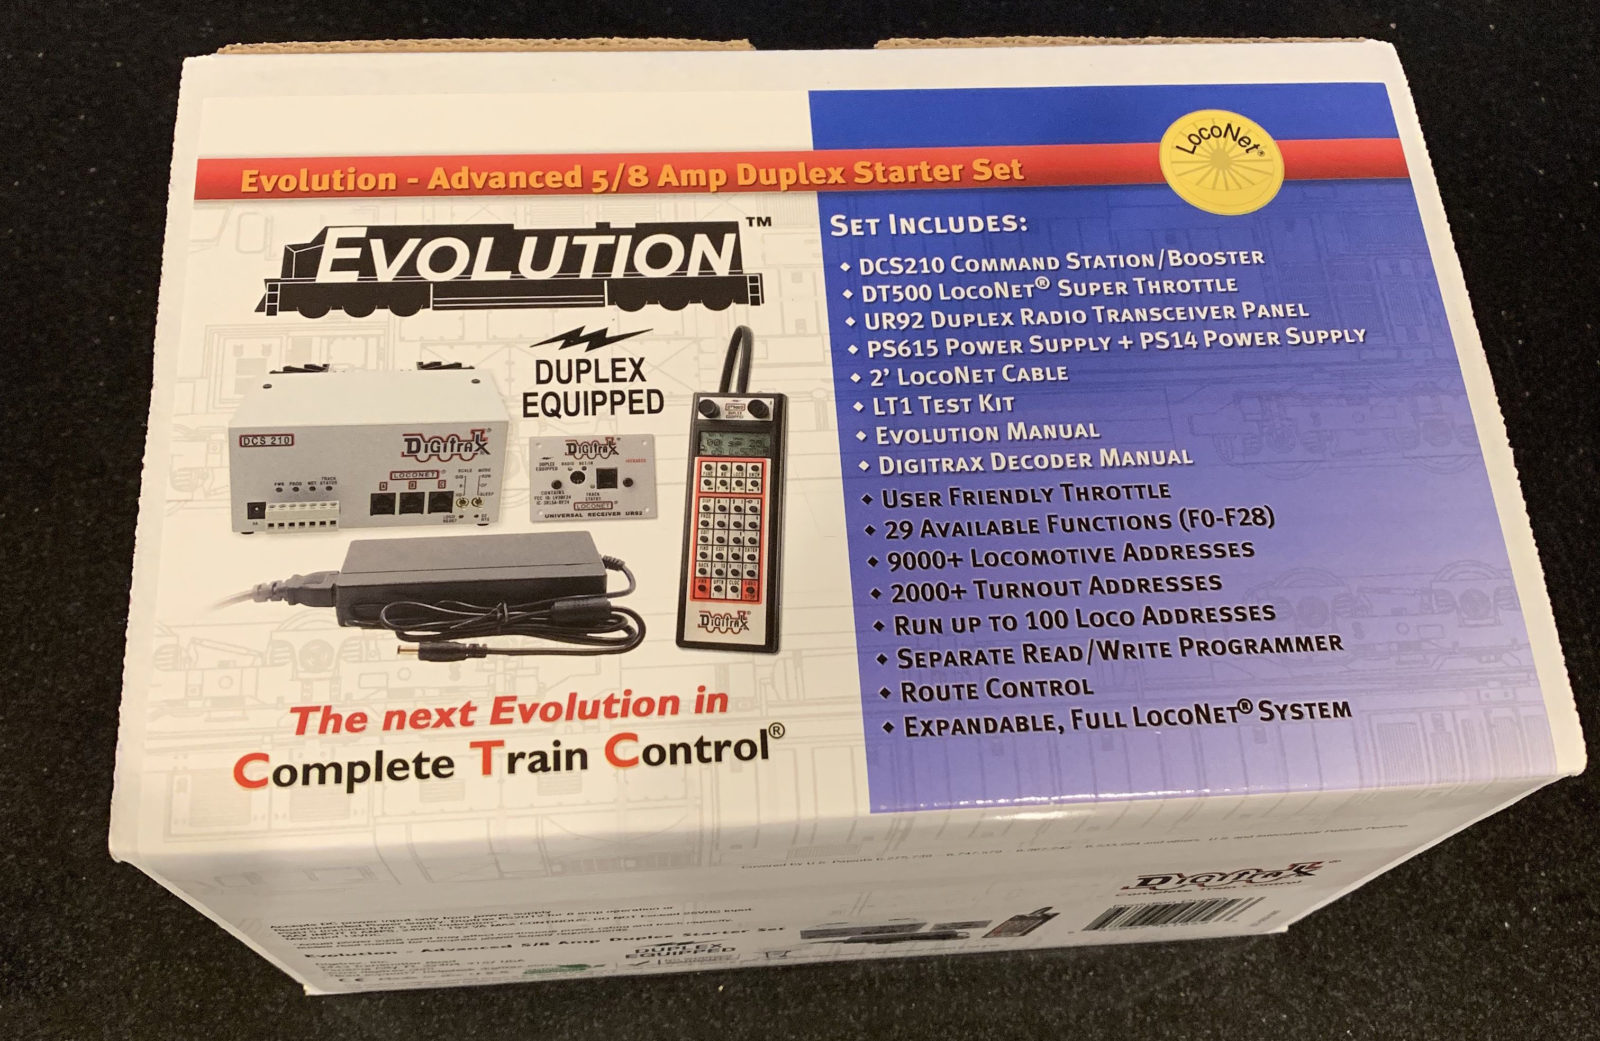
I’ve never owned or used a DCC system before. From reading Model Railroader off and on since the 80s, Digitrax was a DCC brand name I was familiar with, and one that I’d most often notice on club layouts at train shows. So when I decided last November to look into DCC systems more closely, in order to get an idea of which brand’s system I’d want to eventually purchase, I first looked at the systems offered by Digitrax.
A starter set seemed the obvious choice, so I downloaded the user manual for their Evolution Advanced 5amp/8amp Duplex Starter Set and read the entire document to get a better understanding of how Digitrax, and DCC in general, works. The duplex version costs a couple hundred dollars more than the non-duplex version, which seemed a bit steep, especially considering I have the option of achieving wireless control via the Digitrax PR4 USB interface (sold separately) and JMRI. But after reading through the manual, I decided it’d be worth the extra $200 to have the option of going wireless while using the system’s main throttle. I also had a very good feeling about the Digitrax system, the additional circuits available for …
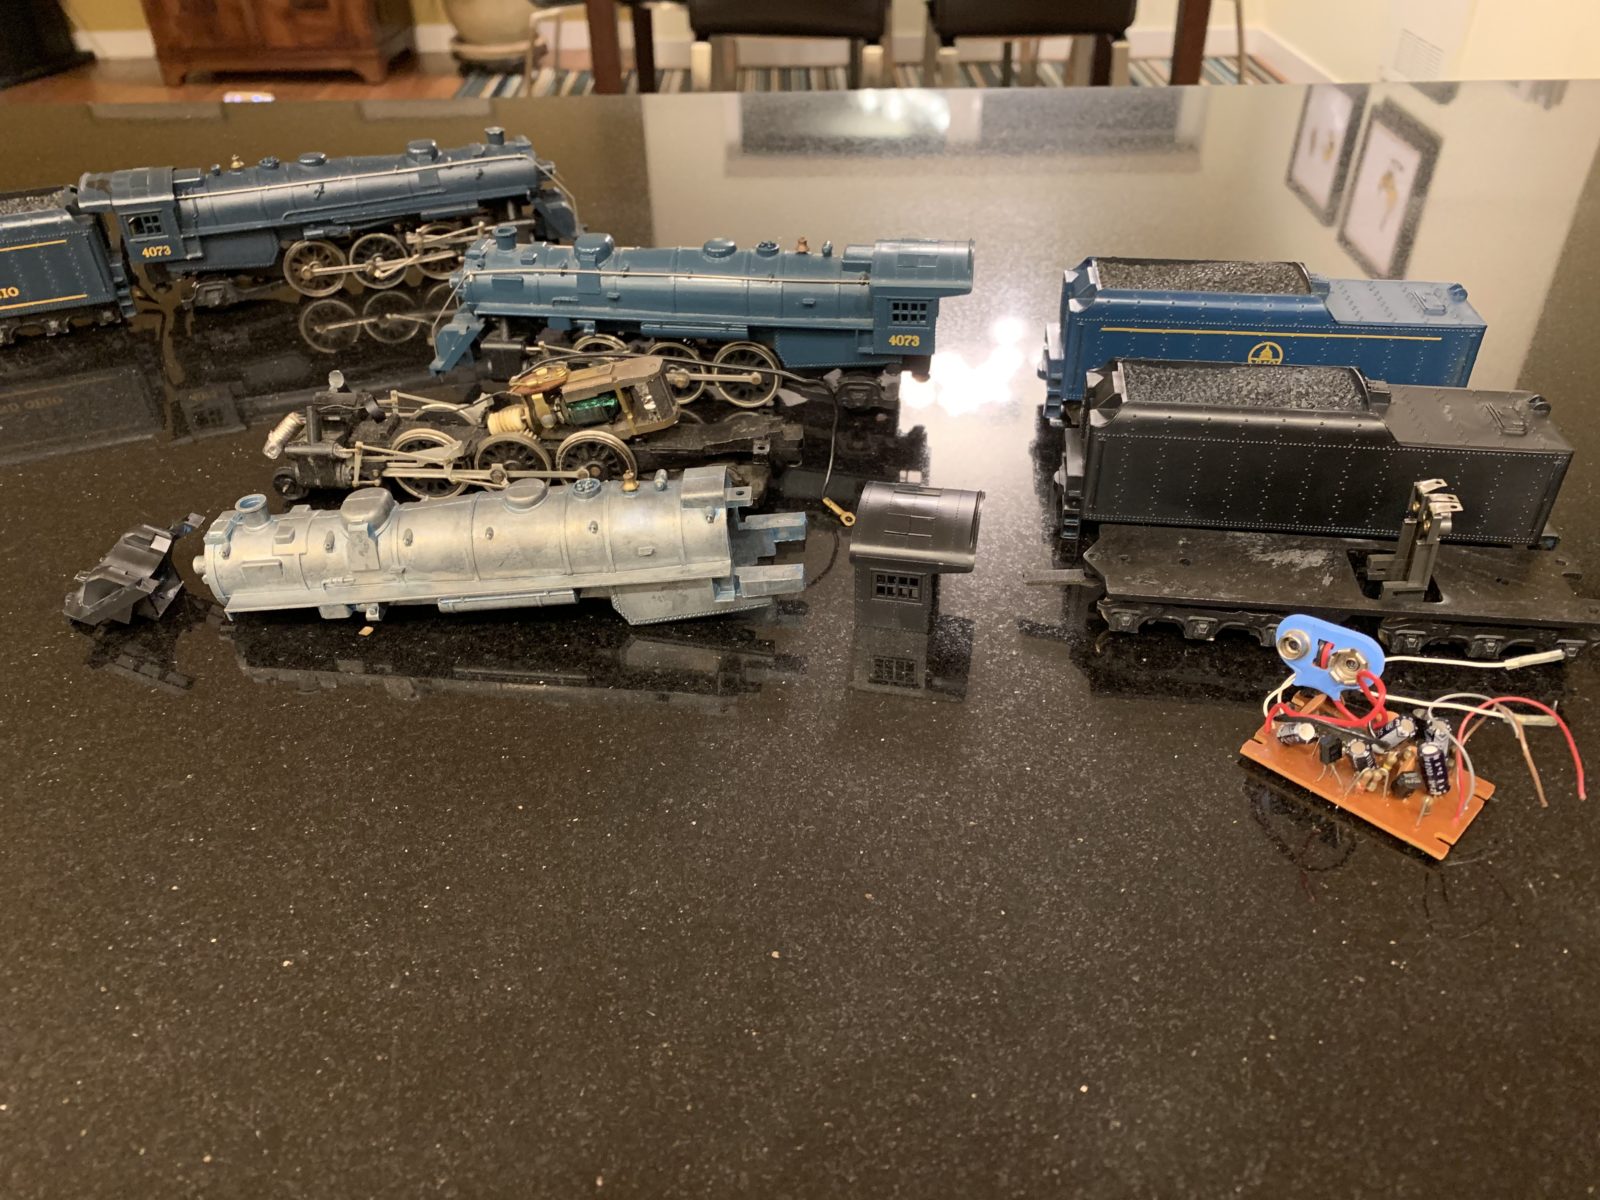
After obtaining my dad’s 70s-era Mantua steam engine from his B&O passenger train in the summer of 2017, I began watching eBay for others like it, to purchase for parts to make repairs to the engine, which has a cracked plastic cab, a broken tender step, and a broken coupler mount on the tender shell. Fixing the problems on the tender would require replacing its shell. Fixing the plastic cab would require replacing the cab.
I’ve since purchased two copies of this model, but both of them turned out to be two different shades of blue, neither of them matching the blue of my dad’s model, making them useless for those two replacement parts. So, I’ve decided to scrap the plan to replace those broken parts on my dad’s model. I had considered repainting it black before finally finding examples of prototype B&O Pacifics being painted blue, such as 5315 and 5309. Now that I have two more copies of this model, I’ve decided to keep dad’s model as-is and work on overhauling the two copies.
Overhauling will include the following:

At the Great Train Show in Puyallup last weekend, I picked up two small DPM kits for $15 each: Pam’s Pet Shop and Kelly’s Saloon. They’re both fairly small, two-story structures. I immediately started working on building and painting the pet shop kit, which I think I’ll make a cafe or restaurant out of.
As with most situations involving a user manual or instruction sheets, I first read the entire instructions, and then re-read parts of it more than once, to fully understand the manufacturer’s intentions before doing anything. But I modified the assembly procedure slightly, based on tips I’ve read in Model Railroader. For example, the instructions say to assemble and glue the entire model before painting, and it didn’t mention using a primer, but I followed MR’s advice by using a primer made for plastic (Montana Plastic Primer, as recommended by a clerk at my local Blick Art Supplies), and I airbrushed the window frames before gluing them to the walls. As I write this, the windows still aren’t attached (more on that later).
Again following advice from Kalmbach’s Basic Painting & Weathering for Model Railroaders, I painted the exterior walls a base …
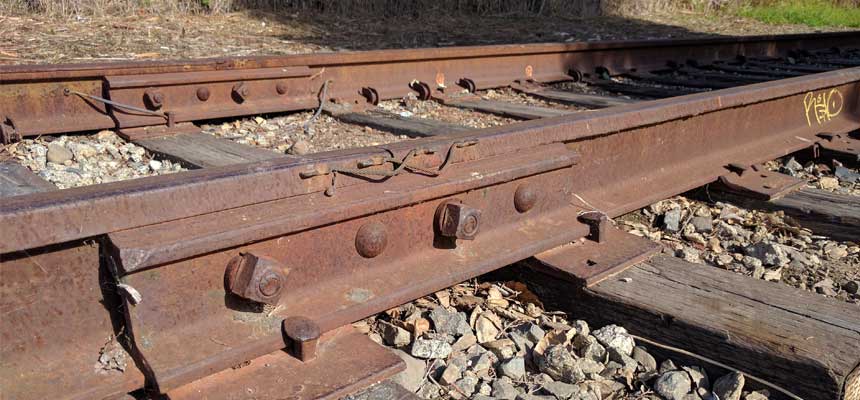
One thing that always stands out to me in photos of model railroads is rail joiners. When they’re visible, they take away from realism. That lead me to wonder if anyone ever models the joint bars you see on the prototype. Today I found my answer in this relatively inexpensive product: http://www.pdc.ca/rr/catalog/product/ho-code-83-joint-bars/7
…
Found an interesting timeline of historic events at the B&O. Could come in handy if I end up using B&O on my layout.

From the Yahoo! B&O Group:
Here is a thumbnail B&O passenger car timeline:
Specifications for Cullen Hayes crossing signals, from Western Safety Products, Inc.: http://www.westernsafety.com/products/wch-railroadproducts/wchpg1.html
This could come in handy when building crossing signals from scratch.…