Building 1: Radio Shop

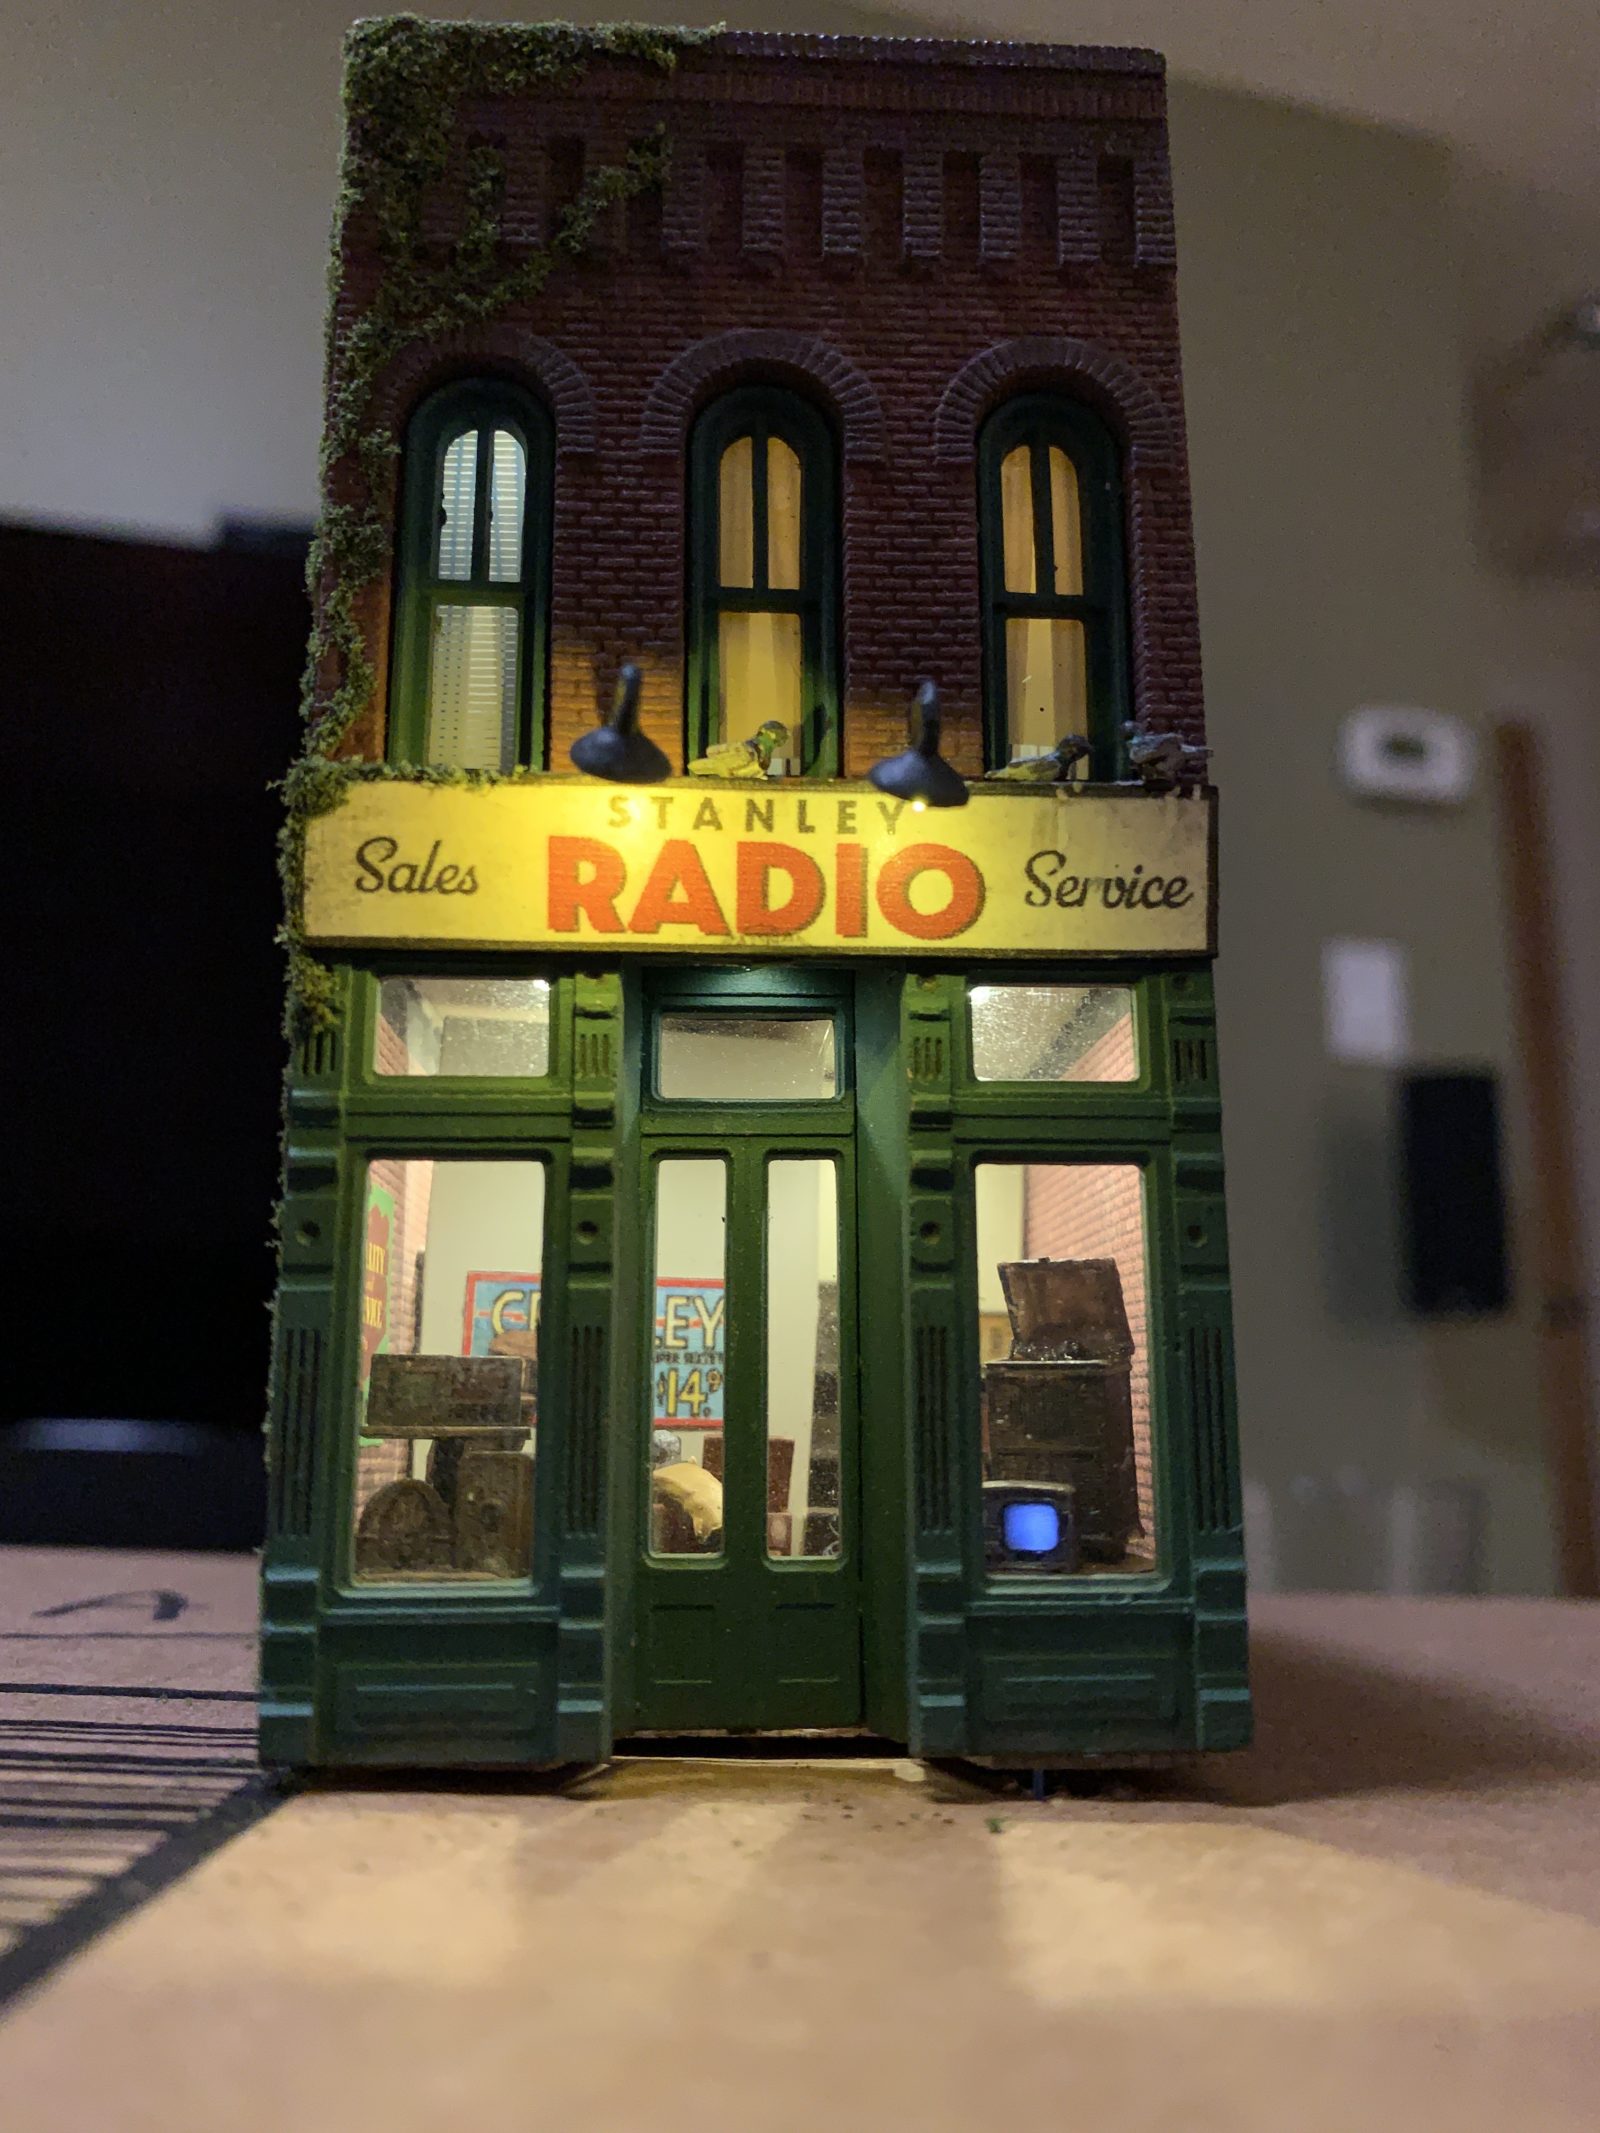
I started this project on January 20, 2019, after purchasing the Design Preservation Models (Woodland Scenics) kit, “Pam’s Pet Shop” at the train show in Puyallup, which was the first structure kit I’d built in 30 years. I initially planned to put a small restaurant and second floor apartment inside, but later decided it was too small for a restaurant, and chose a radio shop instead, which needs very little space, and would help convey the late 1940s era.

By March 2019, I had started to build interior walls and floors and installed LED lighting, which by April was animated by an Arduino to simulate a 24-hour cycle of lights coming on and being turned off in each room at different times. The animation included a simulated TV flicker effect in the living room of the second floor apartment. TVs were still a pretty new thing in 1949, but they were on the market, and I figured the owner of a radio shop would be the type of person to be an early adopter of the technology, and might have one in his living room. However, when I obtained 3D printed vintage radios, they came with a small vintage …

Continue Reading →

TV Light Effect

After seeing Bruce Kingsley’s Arduino-animated HO scale house in the April 2016 issue of Model Railroader, which includes a flickering TV screen in a dark room as one of its many effects, I decided to try writing my own TV-flickering code for the Arduino, and ended up with what I think is a slightly more realistic effect. Using a cool-white LED to simulate the glow of a black and white TV, the code creates the effect by changing the brightness to various levels at various time intervals, within preset ranges, in two different ways.

The majority of the flickers are sudden changes from one level of brightness to another, simulating the light effect of moving images and cutting from one camera to another. The length of time between changes varies each time from between 400-1,000 milliseconds (.4 seconds to 1 second). The levels of brightness are randomly chosen each time, from a range of 25-75, on a scale where 0 is off, and 255 is the brightest level possible.

The flicker effect alone, however, looks a little more like the light of an endlessly flickering flame than the light of a television broadcast. For more realism, I needed to include …

Continue Reading →

Winter 18-19 Review

Since getting back into modeling a few years ago, I’ve done most of my hands-on work from approximately December through April each year, when I have a lot of free time to myself, as my husband spends most of those weekends snowboarding, and takes multiple week-long, or long weekend snowboarding trips outside of the area. Just as snowboarding season comes to an end, other priorities begin to take up our time. Gardening, projects around the house, hosting an annual Pride party, smaller rooftop gatherings, croquet at the park, and all the other fun things we do in the summer have to be crammed into the three months of gorgeous weather we get in Seattle before the clouds and drizzle return in October. As it’s now the end of April, I thought I’d put an official end to the Winter 2018-2019 modeling season by reviewing the accomplishments and noting what’s up next, when the 19-20 season begins later this year.

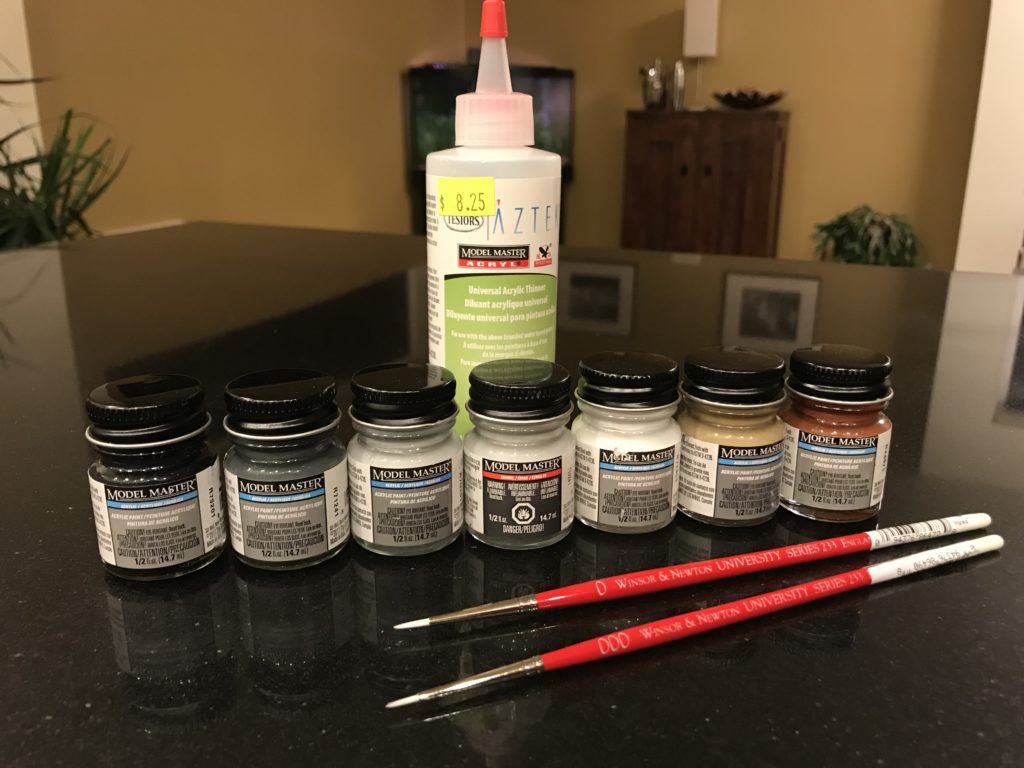
The season officially began in late August when I began purchasing my first model paint in decades (via eBay). I slowly built up some basic supplies, including paint, brushes, pipettes, thinner and decal solutions. At this point I realized I’d need …

Continue Reading →

Simulating the Slight On/Off Fade of Incandescent Lights When Using LEDs

When LEDs turn on, they reach their full brightness more quickly than incandescent lights do, and when they turn off, they reach full darkness more quickly than incandescent lights. The effect is particularly noticeable when comparing flashing LEDs with flashing incandescent lights, such as the red lights on railroad crossing signals. The difference is slight, but it’s perceptible enough that they don’t look quite right on layouts depicting a time before LEDs were used in crossing signals. To look right, there should be a barely perceptible moment in time when you can see some amount of light in both lights at the same time. I’ve wanted to find a way to simulate that effect by making the LEDs in my signals fade on and off at a similar speed, instead of having them just alternate between on and off. Having recently discovered Arduinos, I’m excited that I can achieve this look on my future crossing signals (and other types of lights) by using an Arduino to control them.

I wrote code that creates a timer for alternating between two phases, and initiates fade-on and fade-off functions for both lights each time the phase changes, at a suitable rate for …

Continue Reading →

Learning Arduino

One day recently while watching videos on Model Railroader Video Plus, I came across a four-part series on using Arduinos for things like layout sound effects and animated lighting. I had never heard of Arduinos before, and those are aspects of the hobby that have been on my mind because it’s something I can work on without already having a layout, and it’s something that I can spend time getting familiar with, so that I’m ready with some automation solutions when I do have the space for a layout.

As Wikipedia describes them, Arduinos are “single-board microcontrollers and microcontroller kits for building digital devices and interactive objects that can sense and control objects in the physical and digital world.” Arduino boards will enable me to create the kind of electronic circuits I’ve had in mind, without the need to create the logic out of just the right combination of resistors, capacitors, timer chips, diodes and other electronic components, most of which I have very little understanding of. When circuits like those don’t work as expected, my lack of knowledge of those things makes it very difficult to troubleshoot. Arduinos, however, use the C++ programming language and a special Arduino …

Continue Reading →