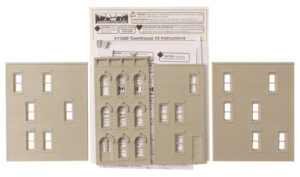
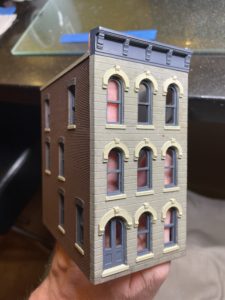
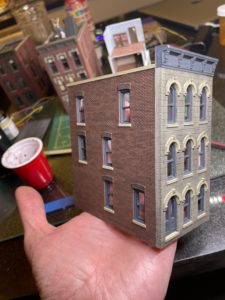
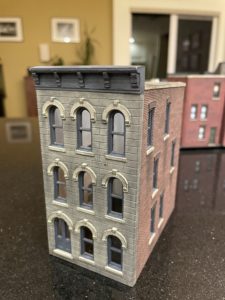
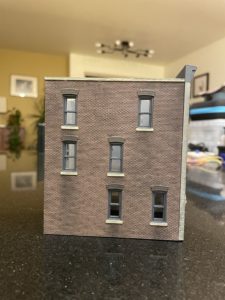
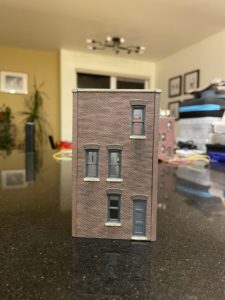
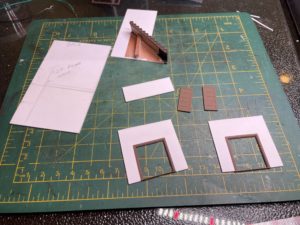
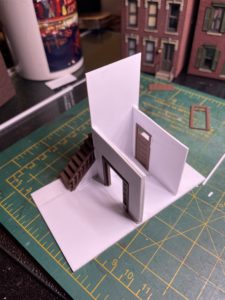
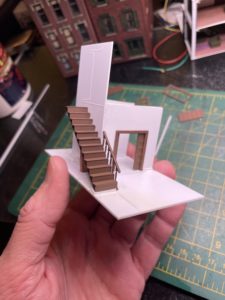
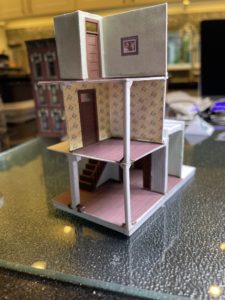
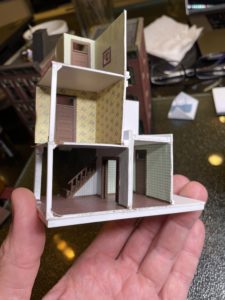
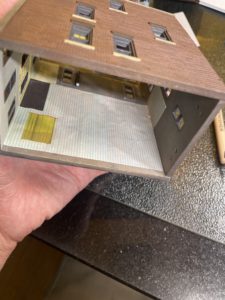
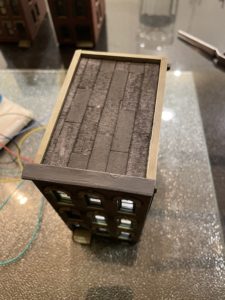
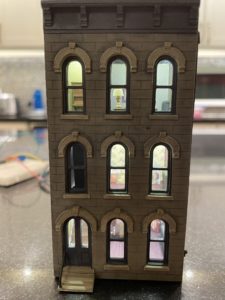
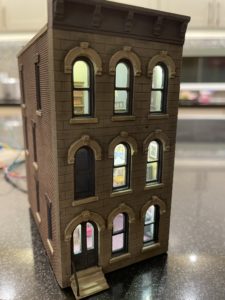
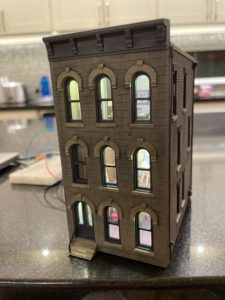
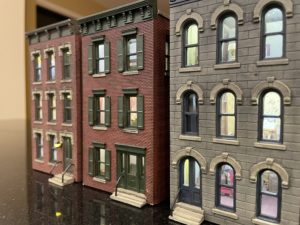
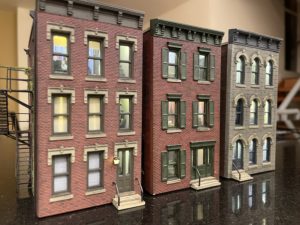
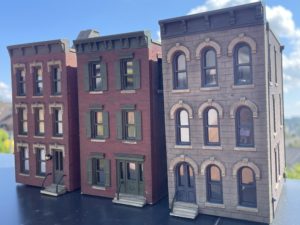
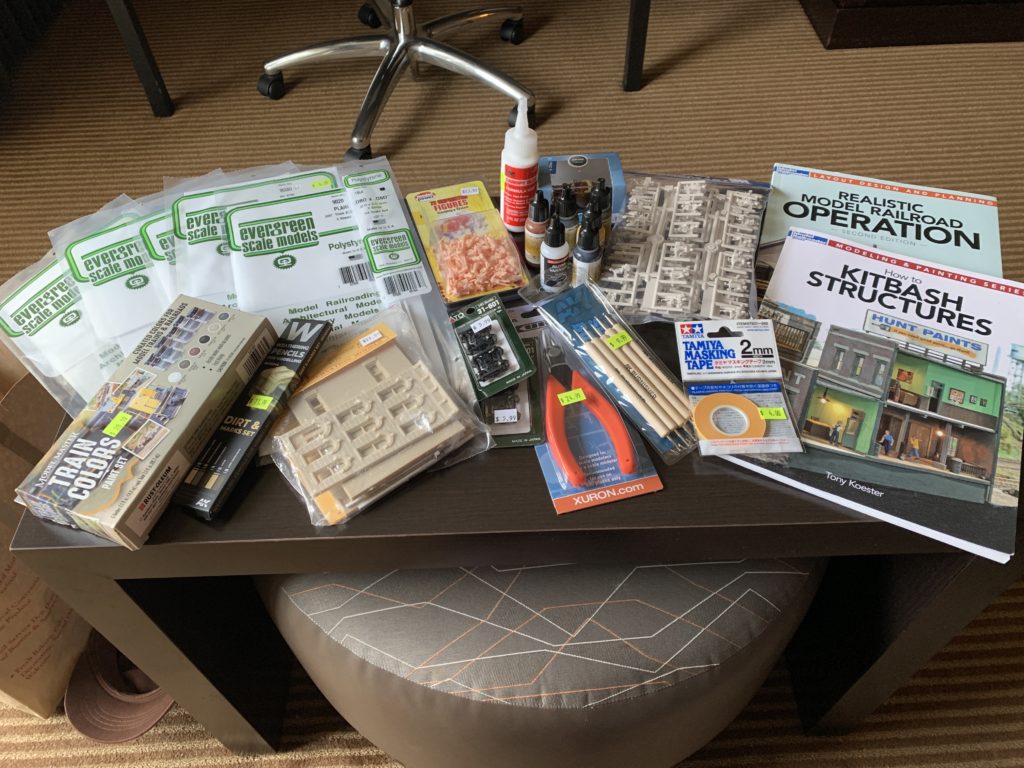
I received this Design Preservation Models kit as a gift from Chris when he took me on a birthday shopping spree in 2021 to The Electric Train Shop, Eastside Trains and Skyway Model Shop. I assembled the exterior walls in late April, and on May 1, I painted the side and rear walls with a mix of Model Master acrylic Railroad Tie Brown, Boxcar Red and Engine Black. During the same spray booth session, I was painting this mix onto the rear and sides of Building 7. The next day, I painted the front with a mix of Aged Concrete, Railroad Tie Brown and Engine Black. I didn’t take any photos of this building at the time, but I logged these steps in the Excel spreadsheets where I keep track of the steps I take. Then, the project sat idle for just over two years, when most of my modeling time was consumed by Building 7.
Building 7 was completed in late April 2023, and about a month later, I was getting very close to finishing Building 4. I was ready to construct and paint a lot of final detail parts, but I paused that project and switched back to this one so that I could get it caught up to the progression Building 4 and then complete both of them roughly at the same time. Mainly, I wanted to save time by combining the airbrushing of all the detail parts for both buildings into a single spray booth session, which ended up taking about three hours. Although I was still having fun, I was starting to feel a little bit tired of making townhouse interiors, and after having several buildings on my unfinished list for four years, I was eager to finish these and change my focus to rolling stock projects and/or catching up on some Kalmbach publications that have been in my reading queue for a year or more.
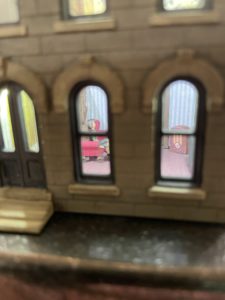
In late May, I brush-painted the cornice, doors and window frames with Vallejo Model Color Dark Grey 70.994, and the lintels with a mix of Chocolate Brown 70.872 and Black 70.950. The sills and parapet are Model Master acrylic Aged Concrete. After the paint was dry, I weathered the exterior with an India ink wash and black weathering powder to get that sooty, smoky city look of Pittsburgh in the 40s. I’m still not sure if it’s sooty enough, but I’m holding off on adding more for now. I don’t want to over-do it and ruin all the work that’s gone into the building.
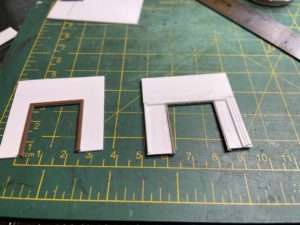
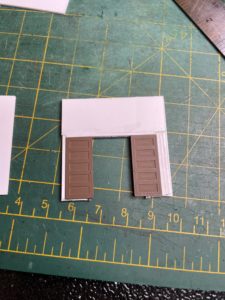
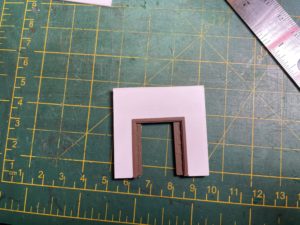
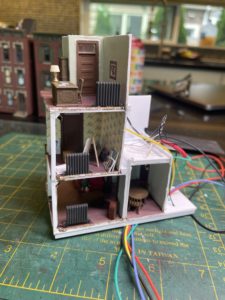
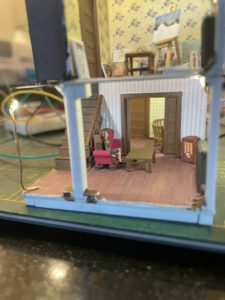
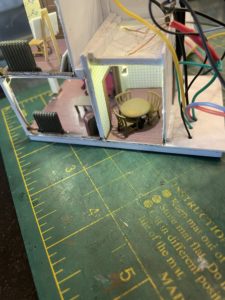
Like the living room of Building 4, double doors in the rear lead to a dining room, but for this building, I decided to use doors that are partially open, to add some depth to the scene. To build the doorway, I used Tichy double five-panel doors with separate frames and built them as pocket doors inside a double wall. For the other interior doors, I used Tichy five-panel doors with transoms. In hindsight, I wished I had glued the single doors into the frames before painting, because the unpainted pieces are a perfect fit, and adding two layers of paint between them made it hard to get them to line up perfectly. I imagine it’s less of an issue when modeling the doors in an open position, which I wasn’t doing, so I really didn’t need separate pieces in the first place, but that’s what I had on hand at the time, so I used them.
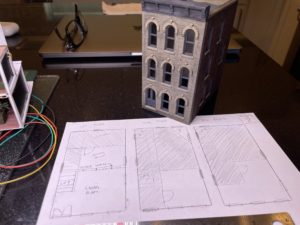
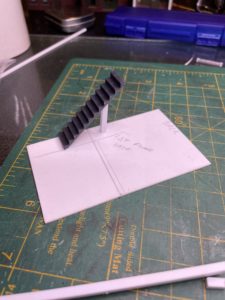
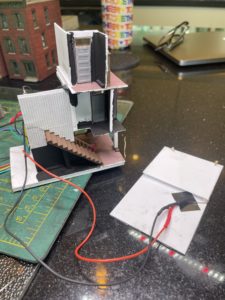
As the interior module came together, I realized that this townhouse, moreso than the other two, needed to have its first floor slightly raised in order to properly align with the bottom of the front door. I did this by building a frame under the first floor using 1/8″ styrene strips. Later, this also became a great place to route the wires for the first floor lighting. The LEDs are located where the front walls meet the ceilings, like stage lights shining down at an angle, mostly out of sight.
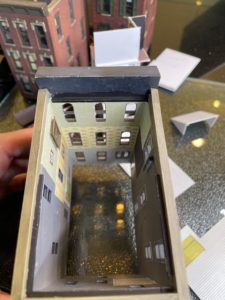
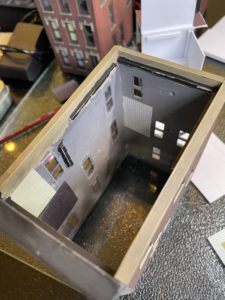
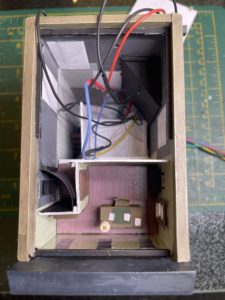
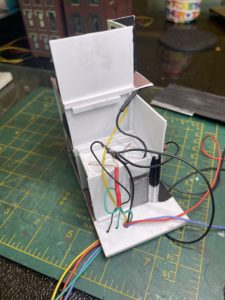
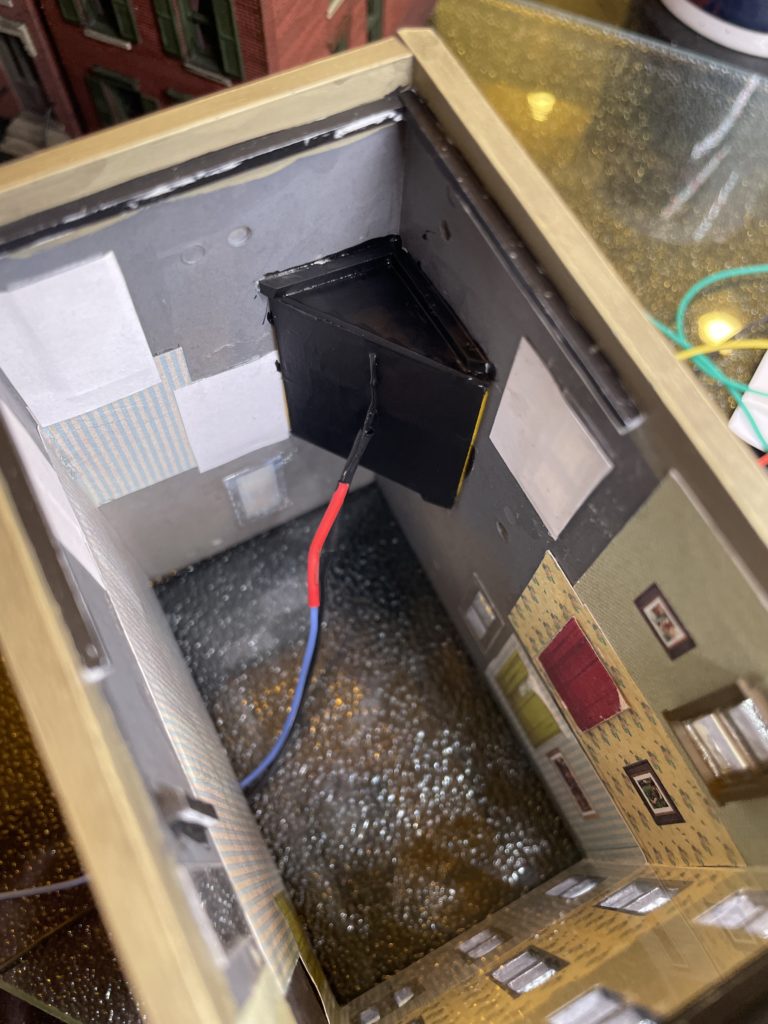
Something new I tried with this model was building an illuminated styrene light box behind a pair of windows in the non-detailed section of the building, so that I can illuminate just those two windows without affecting all of the other windows in the non-detailed section. The triangle-shaped light box is white on the inside, black on the outside, and glued into the back corner. I initially 2mm square styrene bracing under the light box, but had to remove it later when I realized they got in the way of the dining room ceiling when the interior module was slid up into the building shell.
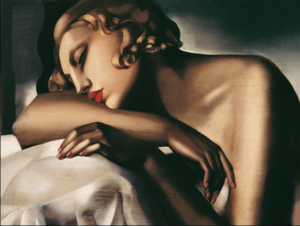
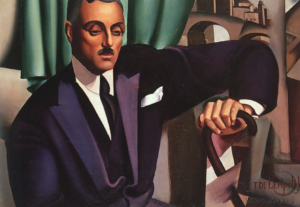
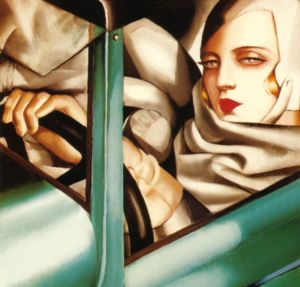
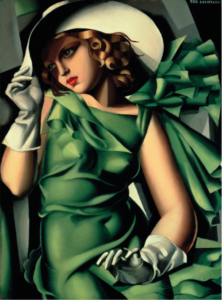
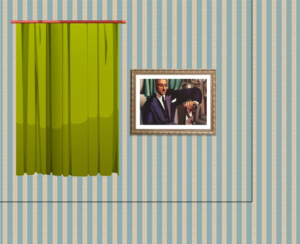
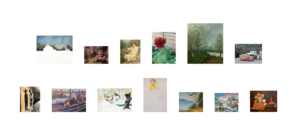
When searching the web for artwork to put on the walls of this last townhouse, I came across the work of Polish painter Tamara de Lempicka. She was well-known for her distinctive art deco style when she traveled to Pittsburgh for the first time in 1929. At an exhibition at the Carnegie Institute, her work was well received, but she lost the money she earned from it when the bank she used collapsed in the stock market crash. By my modeled time period of 1949, the style of her paintings was considered passé, and so I thought that made it plausible that a middle-class collector of art could have afforded to decorate each floor of her tiny Pittsburgh townhouse with her paintings.
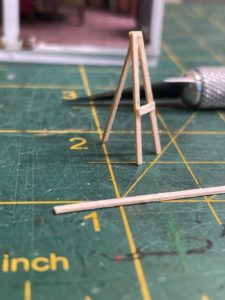
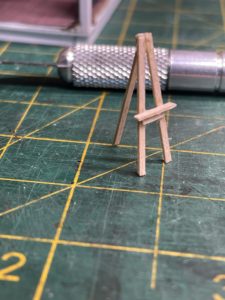
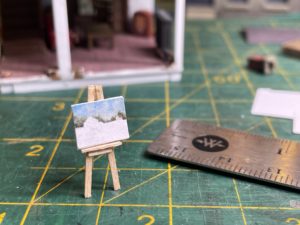
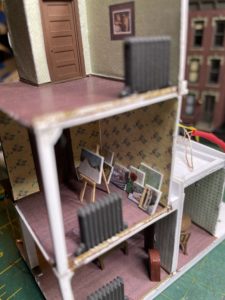
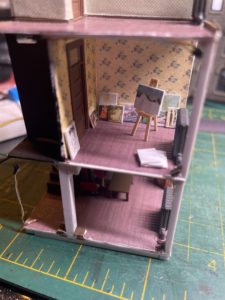
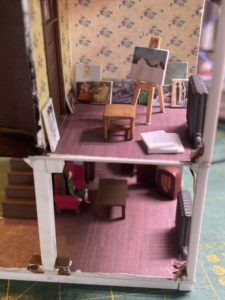
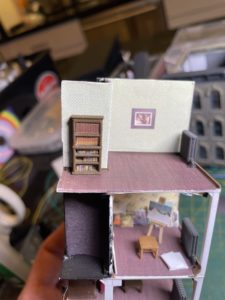
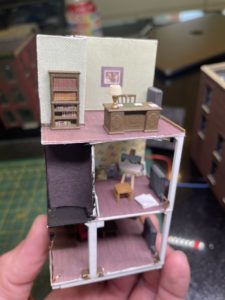
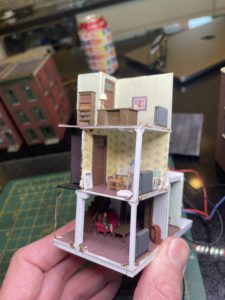
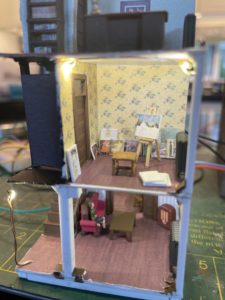
Later, when faced once again with my lack of HO scale beds for the townhouse bedrooms, I thought, if the person who lives in this building is a collector of paintings, maybe they’re a painter themselves, and I decided to detail the second floor room as a painting room. I thought this could be easily modeled, since I already had scale lumber from which to make an easel, and canvases could be made by gluing printouts of complete and incomplete paintings (from eBay listings) to little rectangles of .5 mm styrene. I also made a small stack of blank canvases on the floor, which is just some unpainted styrene. Three of the finished canvases were photos that I applied an oil painting filter to. One of them is a sunflower I grew a couple years ago, one is a streetcar photographed at Carson & Smithfield, and one is the set used on The Golden Girls for 1920s flashback scenes in the Brooklyn apartment of Sophia, Dorothy and Sal.
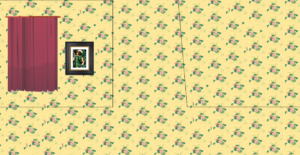
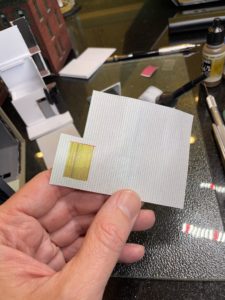
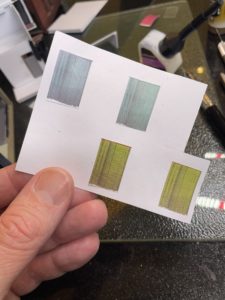
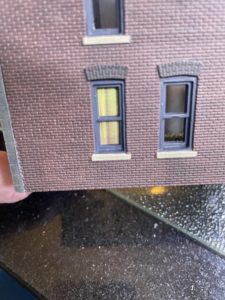
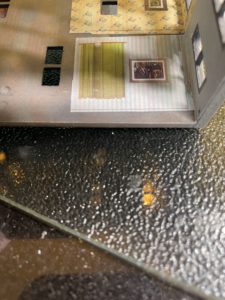
Something else new that I tried on this building is using curtains that I printed on paper, rather than curtains printed on sheets of clear plastic, like the ones from City Classics. I used them on windows where I wanted the curtains to be fully drawn, and slightly illuminated by the room light. From the inside, you see the curtains and wall covering. Glued to the back side of that is another paper curtain, facing the window. Behind that is the clear plastic window glazing, and then the window opening in the exterior wall. I’m happy with the appearance, in general, but there was one problem that I somewhat anticipated. When sliding the interior module in and out of the building, which happens a lot during construction, the two layers of paper on top of the window glazing is a little too thick for the amount of clearance I left between the exterior walls and the interior module. As a result, the paper curtains get a little scratched each time the styrene floors slide over them, leaving white streaks in the graphics, and the .5 mm styrene floors flex a little bit, which caused the easel and a radiator to come loose when attempting final assembly. I re-glued them with canopy glue, which remains flexible after drying.
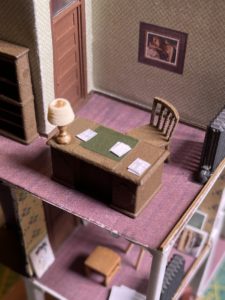
Still facing that lack of beds, I decided to make the third floor room an office, with the assumption that the bedrooms are located in the non-detailed section of the building. This saved time and money, since I already had 3D printed desks, chairs, lamps and bookcases. I used some of the same illustrated book spines I used in Building 3 and Building 4, but I desaturated them in Photoshop and made a couple of rows of books that all look the same, as if they are encyclopedias or something else of several volumes. The final details for the scene were painting and gluing a lamp to the desk, painting a green desk pad on the desk, and then adding a few scattered documents to it. Those were made from 8.5 x 11 PDFs of fairly plain type, which I scaled down to 1/87th. I could have scaled down some authentic 1949 documents, but since the end result is just vague markings that suggest there is printing on the pages, I chose instead to personalize it a little, and used some administrative documents from my days at the Art Institute of Pittsburgh, which also felt fitting, given the building occupant’s interest in art. There’s really not much in this room as far as furniture, fixtures and small items, but I think it’s plenty of detail considering the distance and tiny windows through which the scene would be viewed.
With the simultaneous completion of this and Building 4, and the completion of Building 3 in May, I’m finally done with the three DPM townhouses, after working on them intermittently over four years, three months and 23 days. It feels good to be done with them, and I’m very pleased with the end result. I think constructing these interiors has improved my scratch-building skills and given me more confidence to soon get back to Building 6, the scratch-built gas station that’s been on hold since February 2021.
