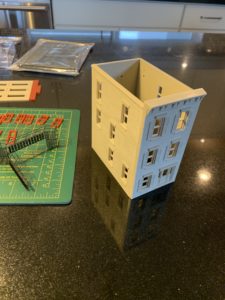
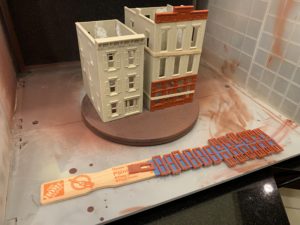
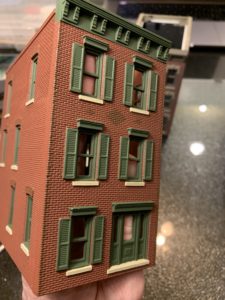
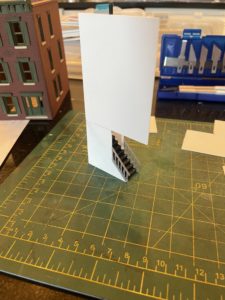
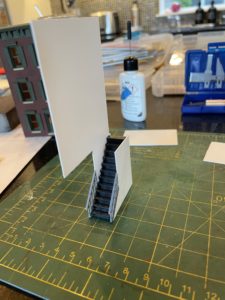
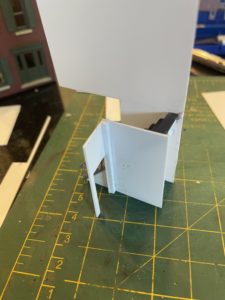
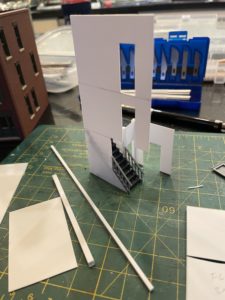
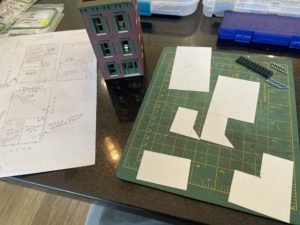
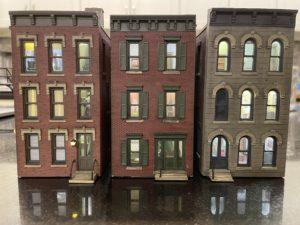
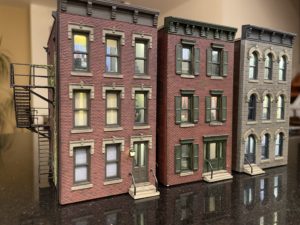
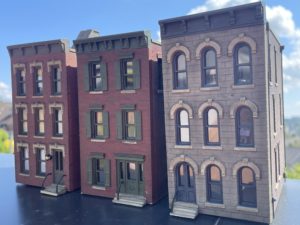
Technically, I started this building in January 2020 when I sanded the edges of the exterior walls, but the parts went back in the package until that May. I then took three days to fill divots on the interior walls with plastic putty, glue the walls together, prime them and apply a base coat of paint. I filled the divots because I planned on painting those surfaces for use in the interior scenes. I later decided it was much easier and looked better if I covered the walls of interior scenes with paper, printed with my own custom graphics. The putty would shrink a lot while drying, requiring multiple coats and lots of drying time. It was too much work.
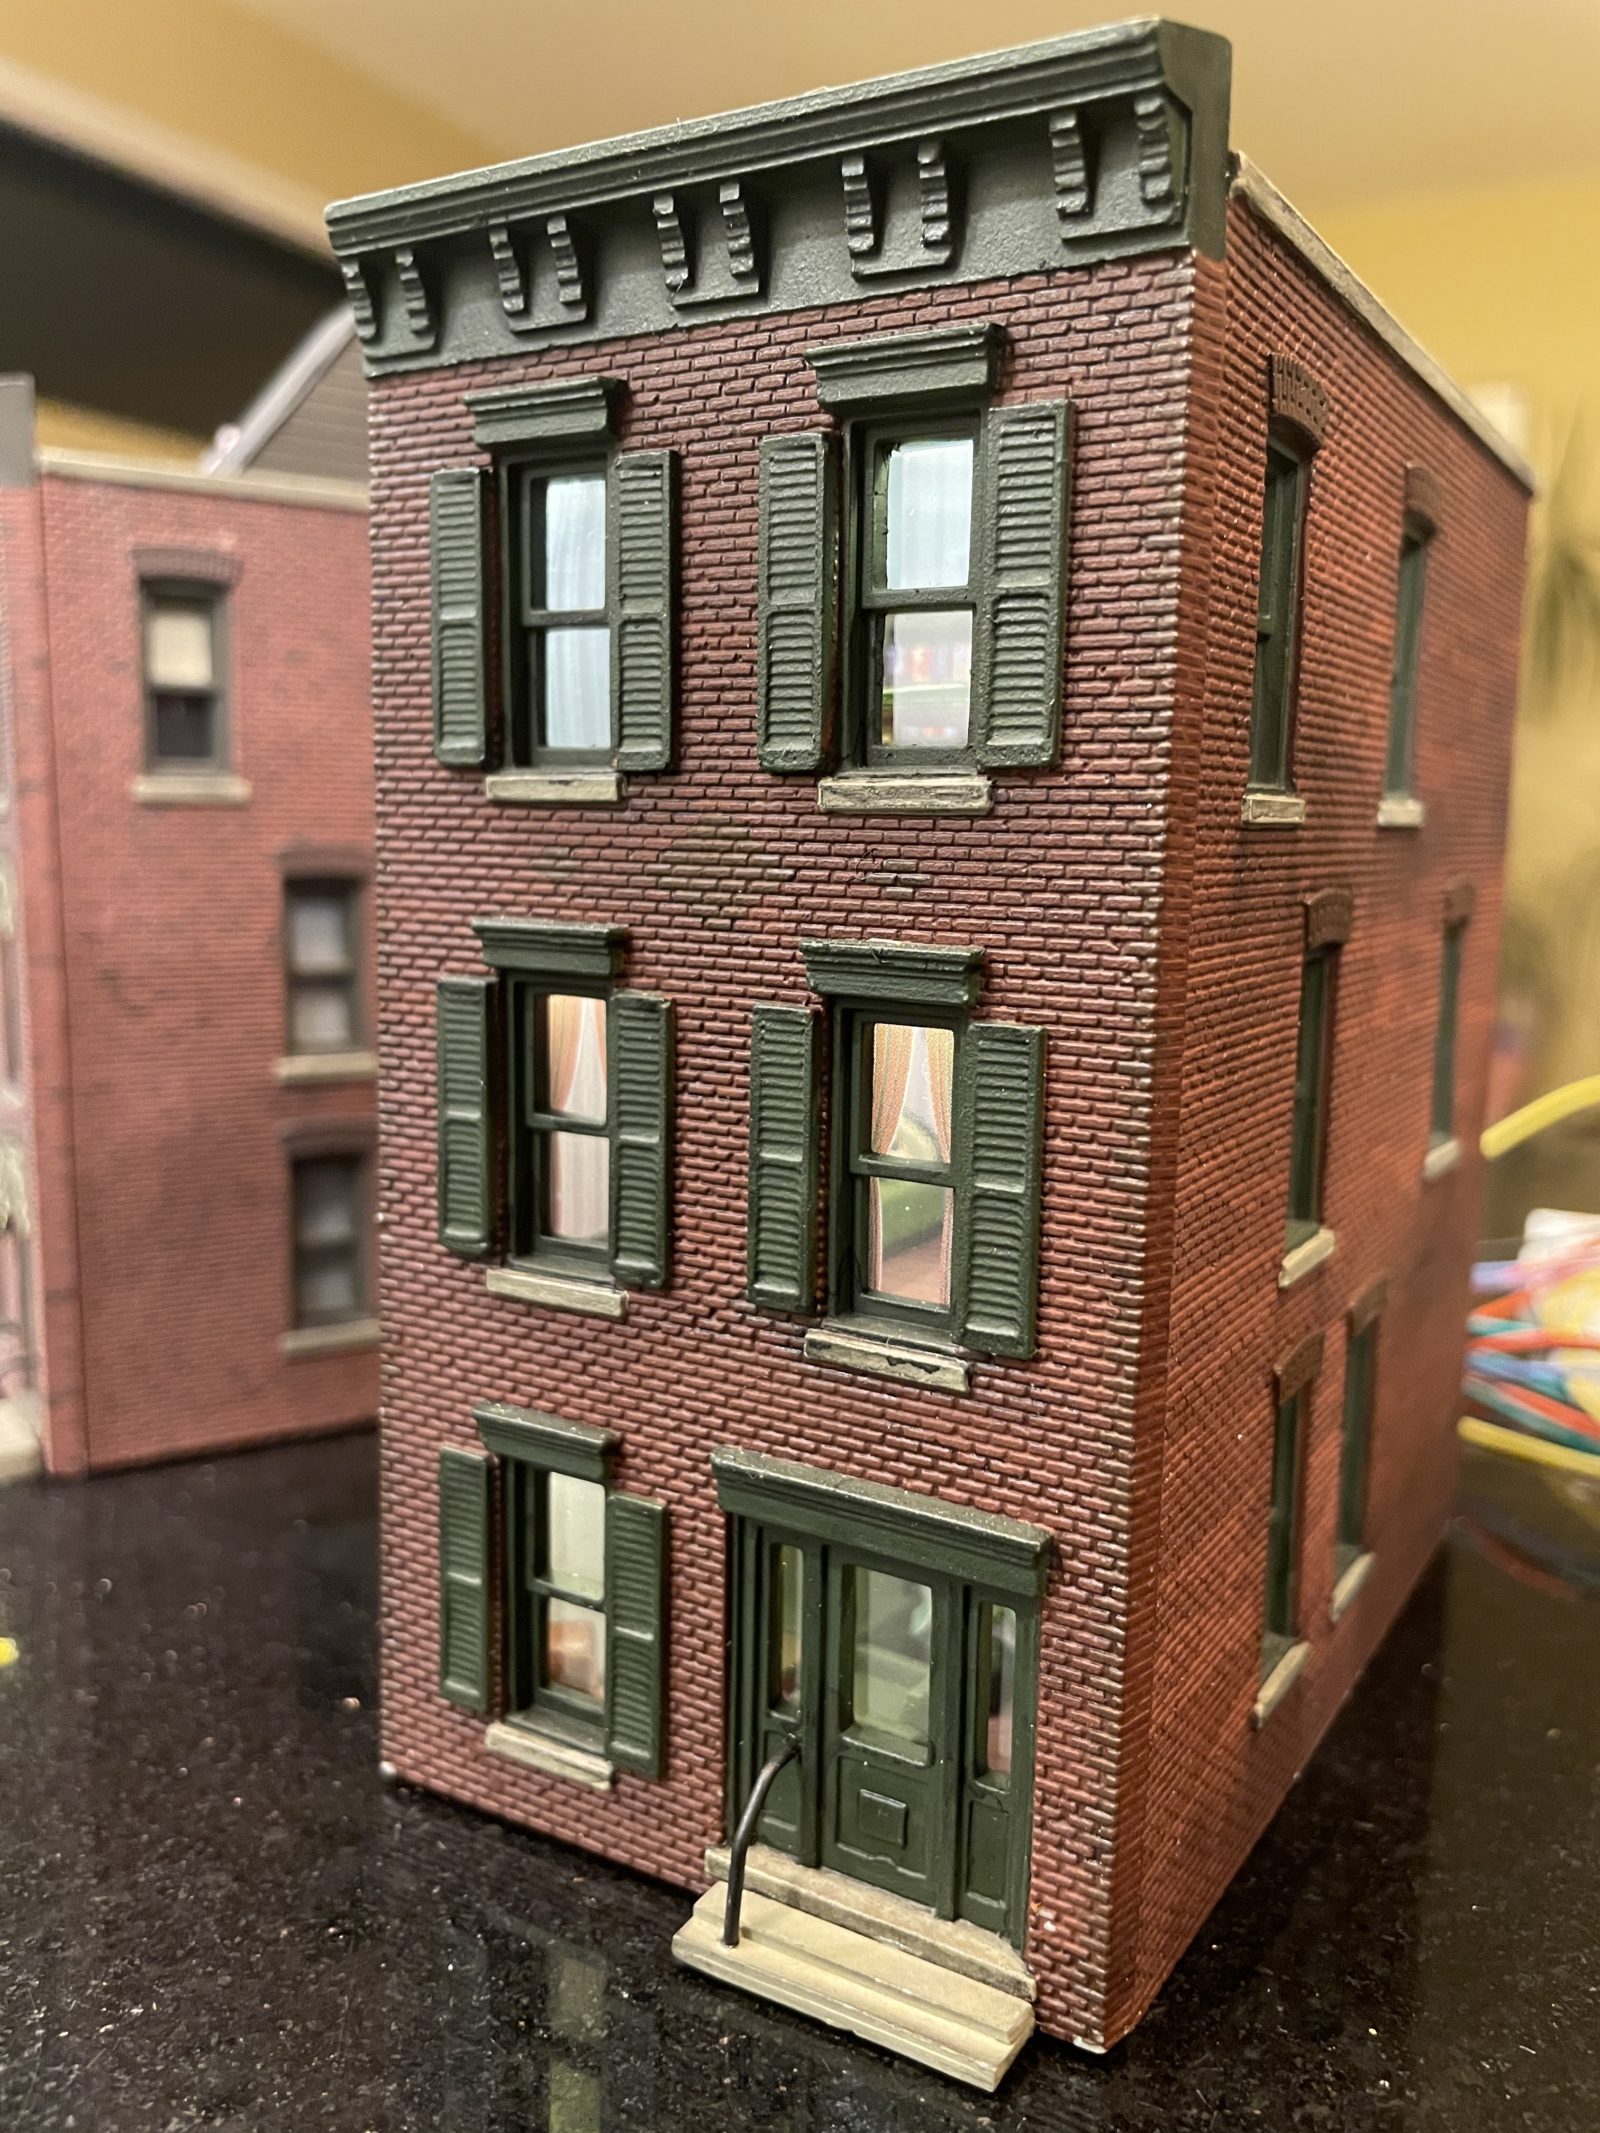
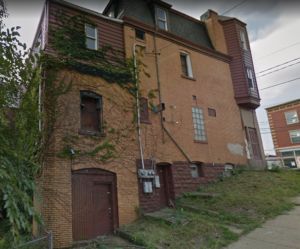
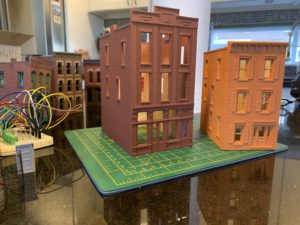
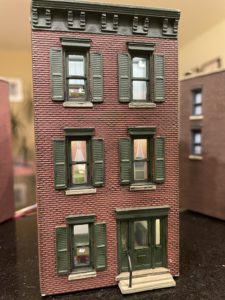
On the base coat of paint, I was going for a warm yellow brick color, like I had seen on a lot of older buildings around Pittsburgh. I used a mix of Model Master acrylic International Orange, Reefer Yellow, Rust and a touch of Grimy Black. Unfortunately, it was way too orange and would have to be repainted, but it sat idle for nine months. In February 2021, I tried to strip the orange paint with 91% isopropyl alcohol, but it barely scratched the surface. After lots of soaking and toothbrush scrubbing had no effect, I washed the building and painted over the orange with Vallejo Model Air German Red Brown, and later brush-painted the doors, window frames, shutters and cornice with Vallejo Model Air Olive Green. The darker bricks of the headers are a 1:1 mix of Vallejo Model Air German Red Brown and Burnt Umber. After painting, the project sat idle again for just over two years.
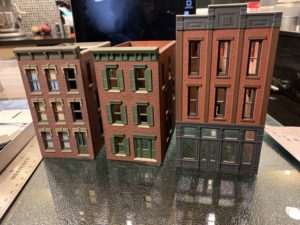
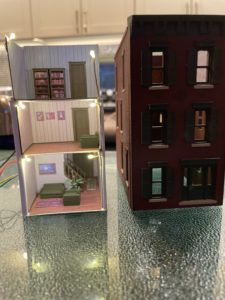
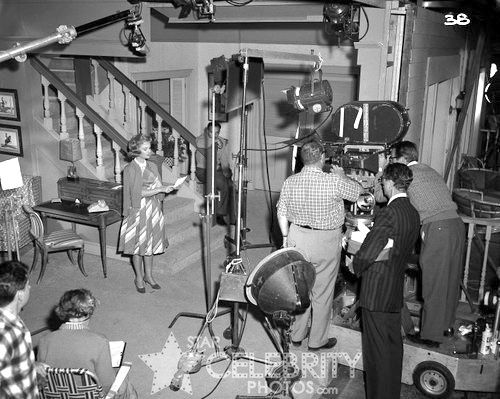
At the end of April 2023, I was adding finishing touches on Building 3, and was really happy with how it turned out. Riding that high, I felt inspired to get back to this building, and sketched floor plans for the interior at 1:1 scale. The assumption was that this one would be sandwiched between the other two townhouses, so I planned to block the side windows on both sides with curtains or blinds, except for the third floor window on the right side near the front of the building. Except for the placement of the front door, the layout of the first floor was inspired by the set of The Donna Reed Show. I didn’t care for the show, but the stairs in their living room were prominent in the opening sequence, and I saw that a lot as a kid watching Nick at Night.
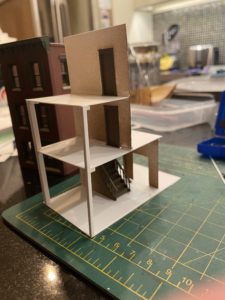
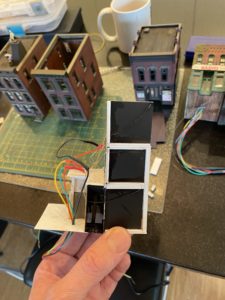
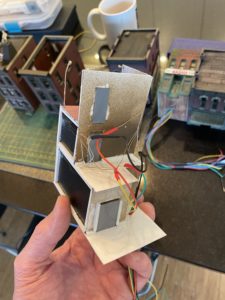
Construction went pretty fast, using .5 mm and .75 mm styrene sheet for floors and walls, 2 mm and 3.2 mm styrene strips for framing and supports, styrene steps from Central Valley Model Works and turned spindle stair rails, four-panel doors and double five-panel doors from Tichy. In hindsight, maybe I should have used .75 mm styrene for more than just the base, and I probably should have taken more care to cut parts squarely, because the .5mm styrene ended up flexing a bit as assembly progressed. When you view the interior module from the side (outside of the building), you can see that it’s slightly bowed. Fortunately, you can’t tell when it’s inside the building.
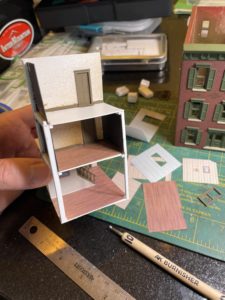
One new thing I tried with this building was adding baseboards to the walls using scale styrene 2x4s during initial construction, which I later brush-painted. Since the walls and floors get covered with printed paper, I don’t have to worry about the paint that gets on them while painting the baseboard in place.
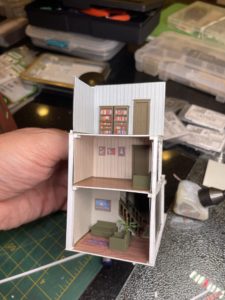
I used the same hardwood floor graphics I created for Townhouse #1, though I altered the color slightly in Photoshop. The color doesn’t match the color of the baseboard, but I think it’s still better than no baseboard. The walls on the first floor walls are meant to look painted, but they’re covered in paper with the framed art printed on them, just like the wallpaper walls. The artwork chosen for this townhouse doesn’t really have any significant meaning behind it. I just quickly found some paintings on the web, added frames, scaled them down, and placed on the walls in Photoshop.
To maintain access to the rear section of the first floor during construction and detailing, I didn’t build the first floor right side wall until I had finished everything in that rear section. When the time came to add that wall, I realized I hadn’t prepared any artwork for it, and since it was such a long wall, it really needed something. I didn’t want to slow down progress at the time, so I decided to re-use the family photo and watercolor from Townhouse 1. It felt a little like cheating, but I tell myself it’s an easter egg.
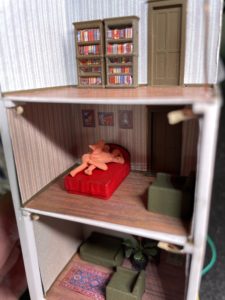
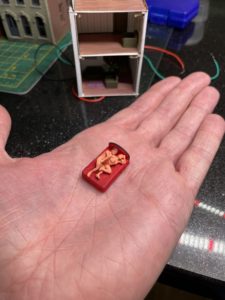
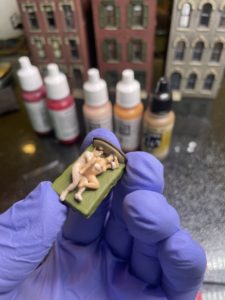
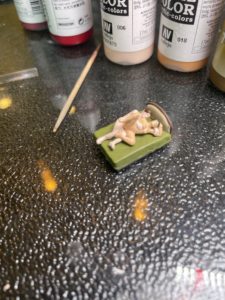
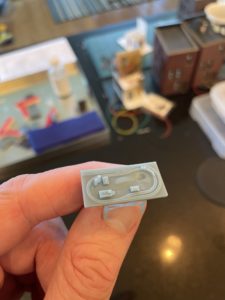
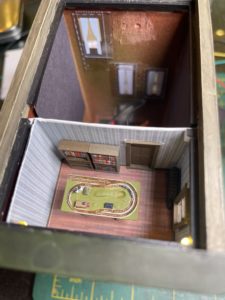
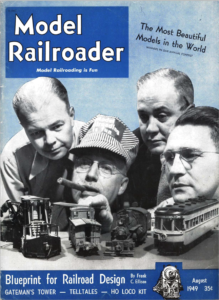
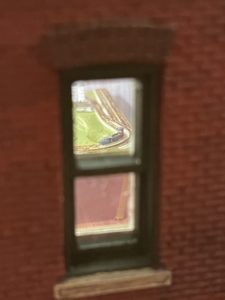
The interior was nearly complete by mid-May, except for bedroom furniture. I had a lot of 3D printed detail parts that I’ve been using for a few years, but no bedroom furniture. I wasn’t ready to place another big Shapeways order, so I looked for cheaper options, eventually finding Lovers in Action, a set from Noch with a bed and two figures getting it on. Soon after, I found an HO scale model of an HO scale 4×8 layout from miniprints.ca, and decided the other bedroom would be a train room. Once that was decided, I went into the Model Railroader magazine digital archive to get a copy of the August 1949 issue. I scaled down the cover and printed it for the coffee table.
For lighting, I used the same warm white 3-volt LEDs that I used previously in Building 3 and Building 7. There are two LEDs in the front corners of each scene, and they’re wired in three circuits so that each room can be turned on or off independently. I initially applied a light spot of Vallejo Model Air 71.075 Sand to make the lighting a little warmer and dimmer, to set it apart from Building 4, which would be right next to it. I thought it looked good at first, but it made the light a little too dark, so I later cleaned the LEDs off with 91% isopropyl alcohol on a cotton swab.
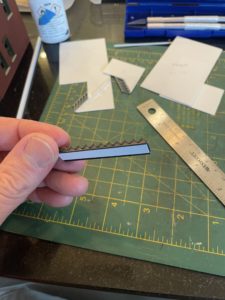
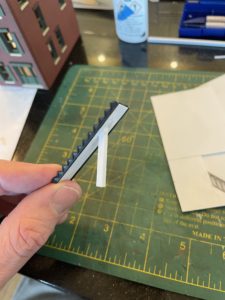
Like Building 7, the roof for this building is a piece of .5 mm styrene painted flat black and covered with strips of black construction paper that had been lightly airbrushed and then sanded, a technique I learned from Jason Jenson Trains on YouTube. After gluing the strips to the roof, they all get outlined with a .45 mm felt tip pen (Micron 05), and later the roof is weathered with PanPastel 800.5 Black, followed by a little 820.2 Neutral Grey Extra Dark.
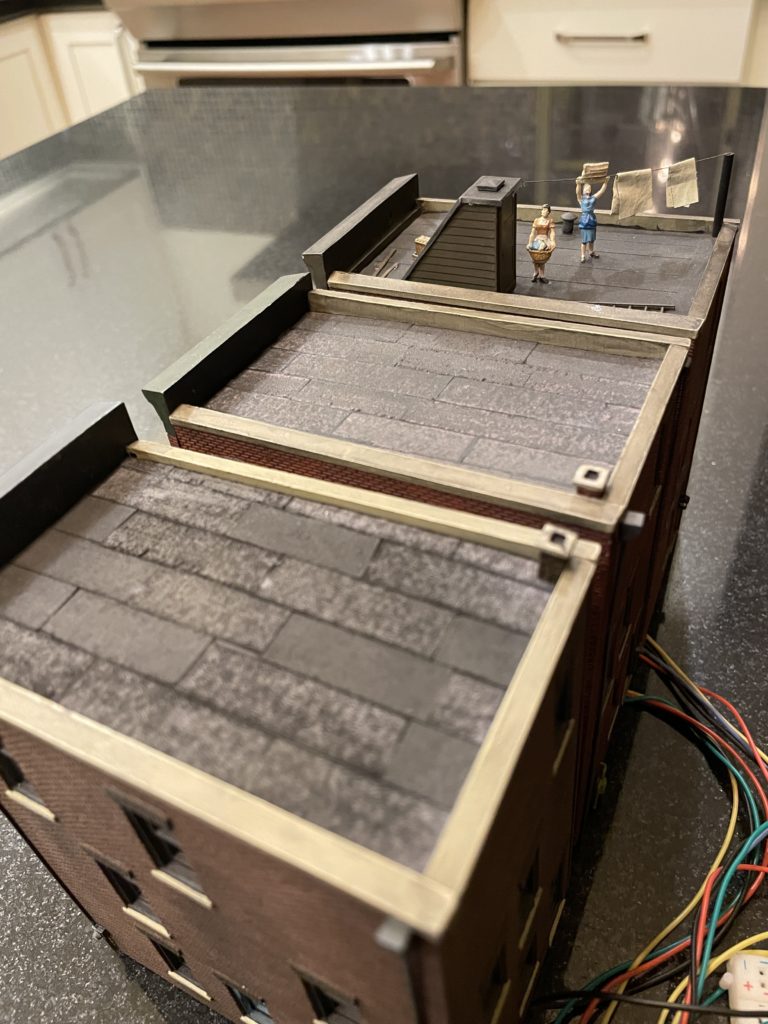
By May 21, things were looking nearly complete on this building, and it was time to construct and airbrush details like coffee tables, radios, utility hookups and front steps. I decided to pause the project at this point so that I could get Townhouse #2 up to the same point and consolidate spray booth sessions, which happened in early July.
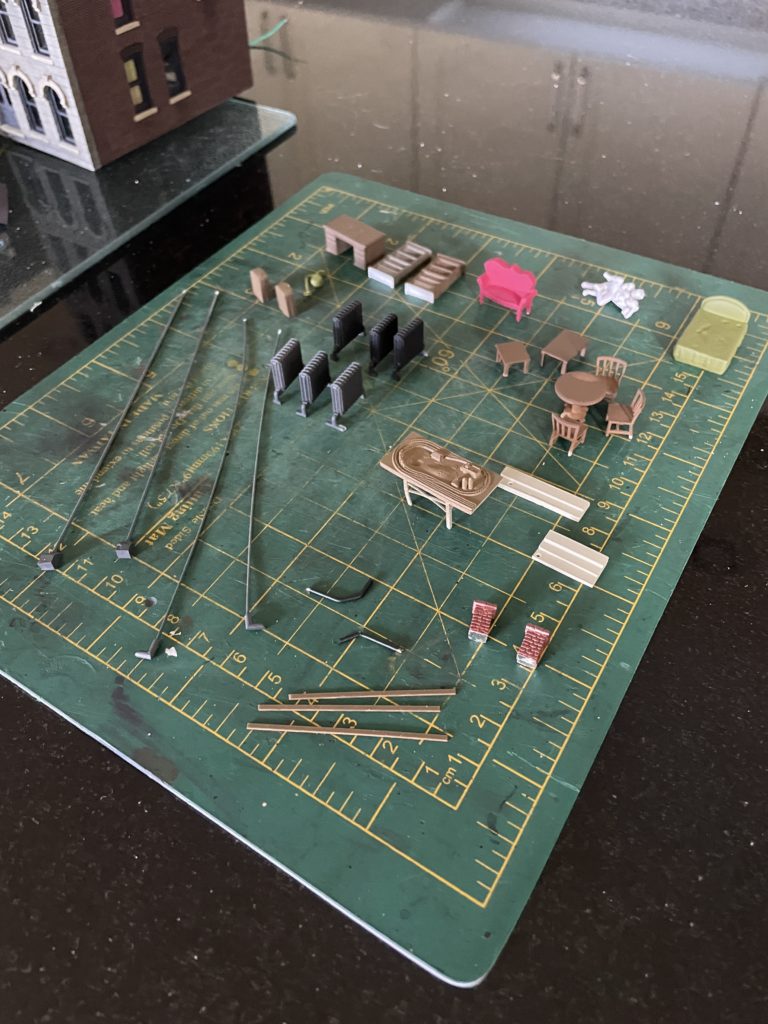
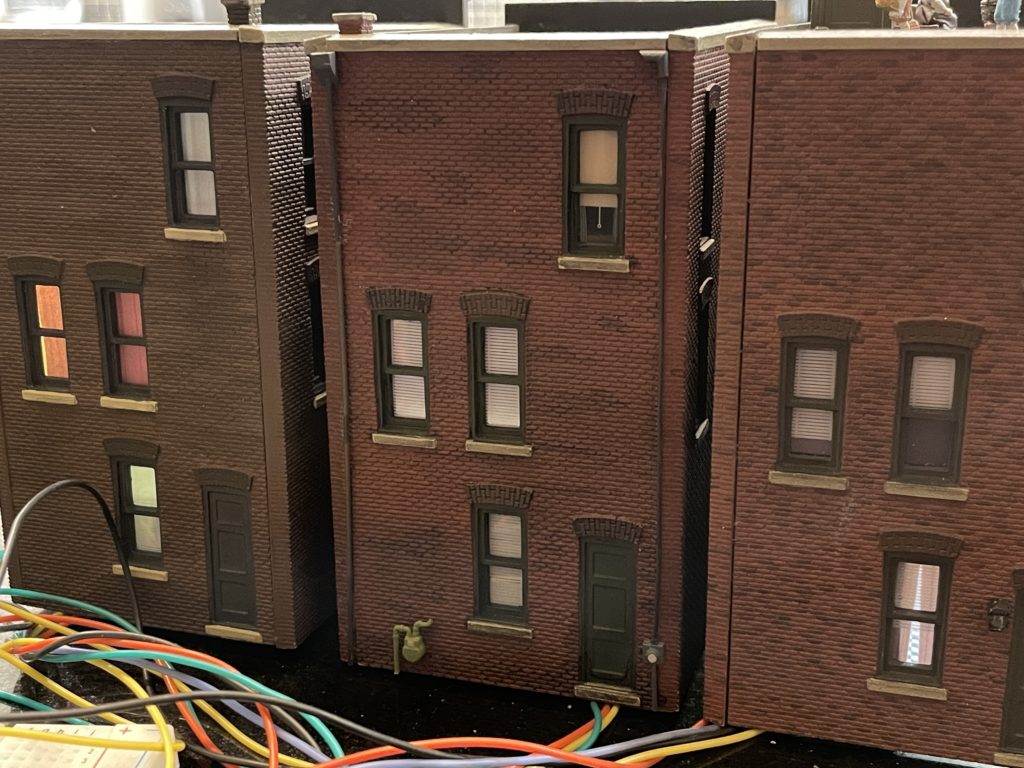
I applied the same exterior details as I did on Building 3, but I placed the downspout and utility meters on the back wall instead of the sides, under the assumption that this building will be placed between the two other townhouses.
