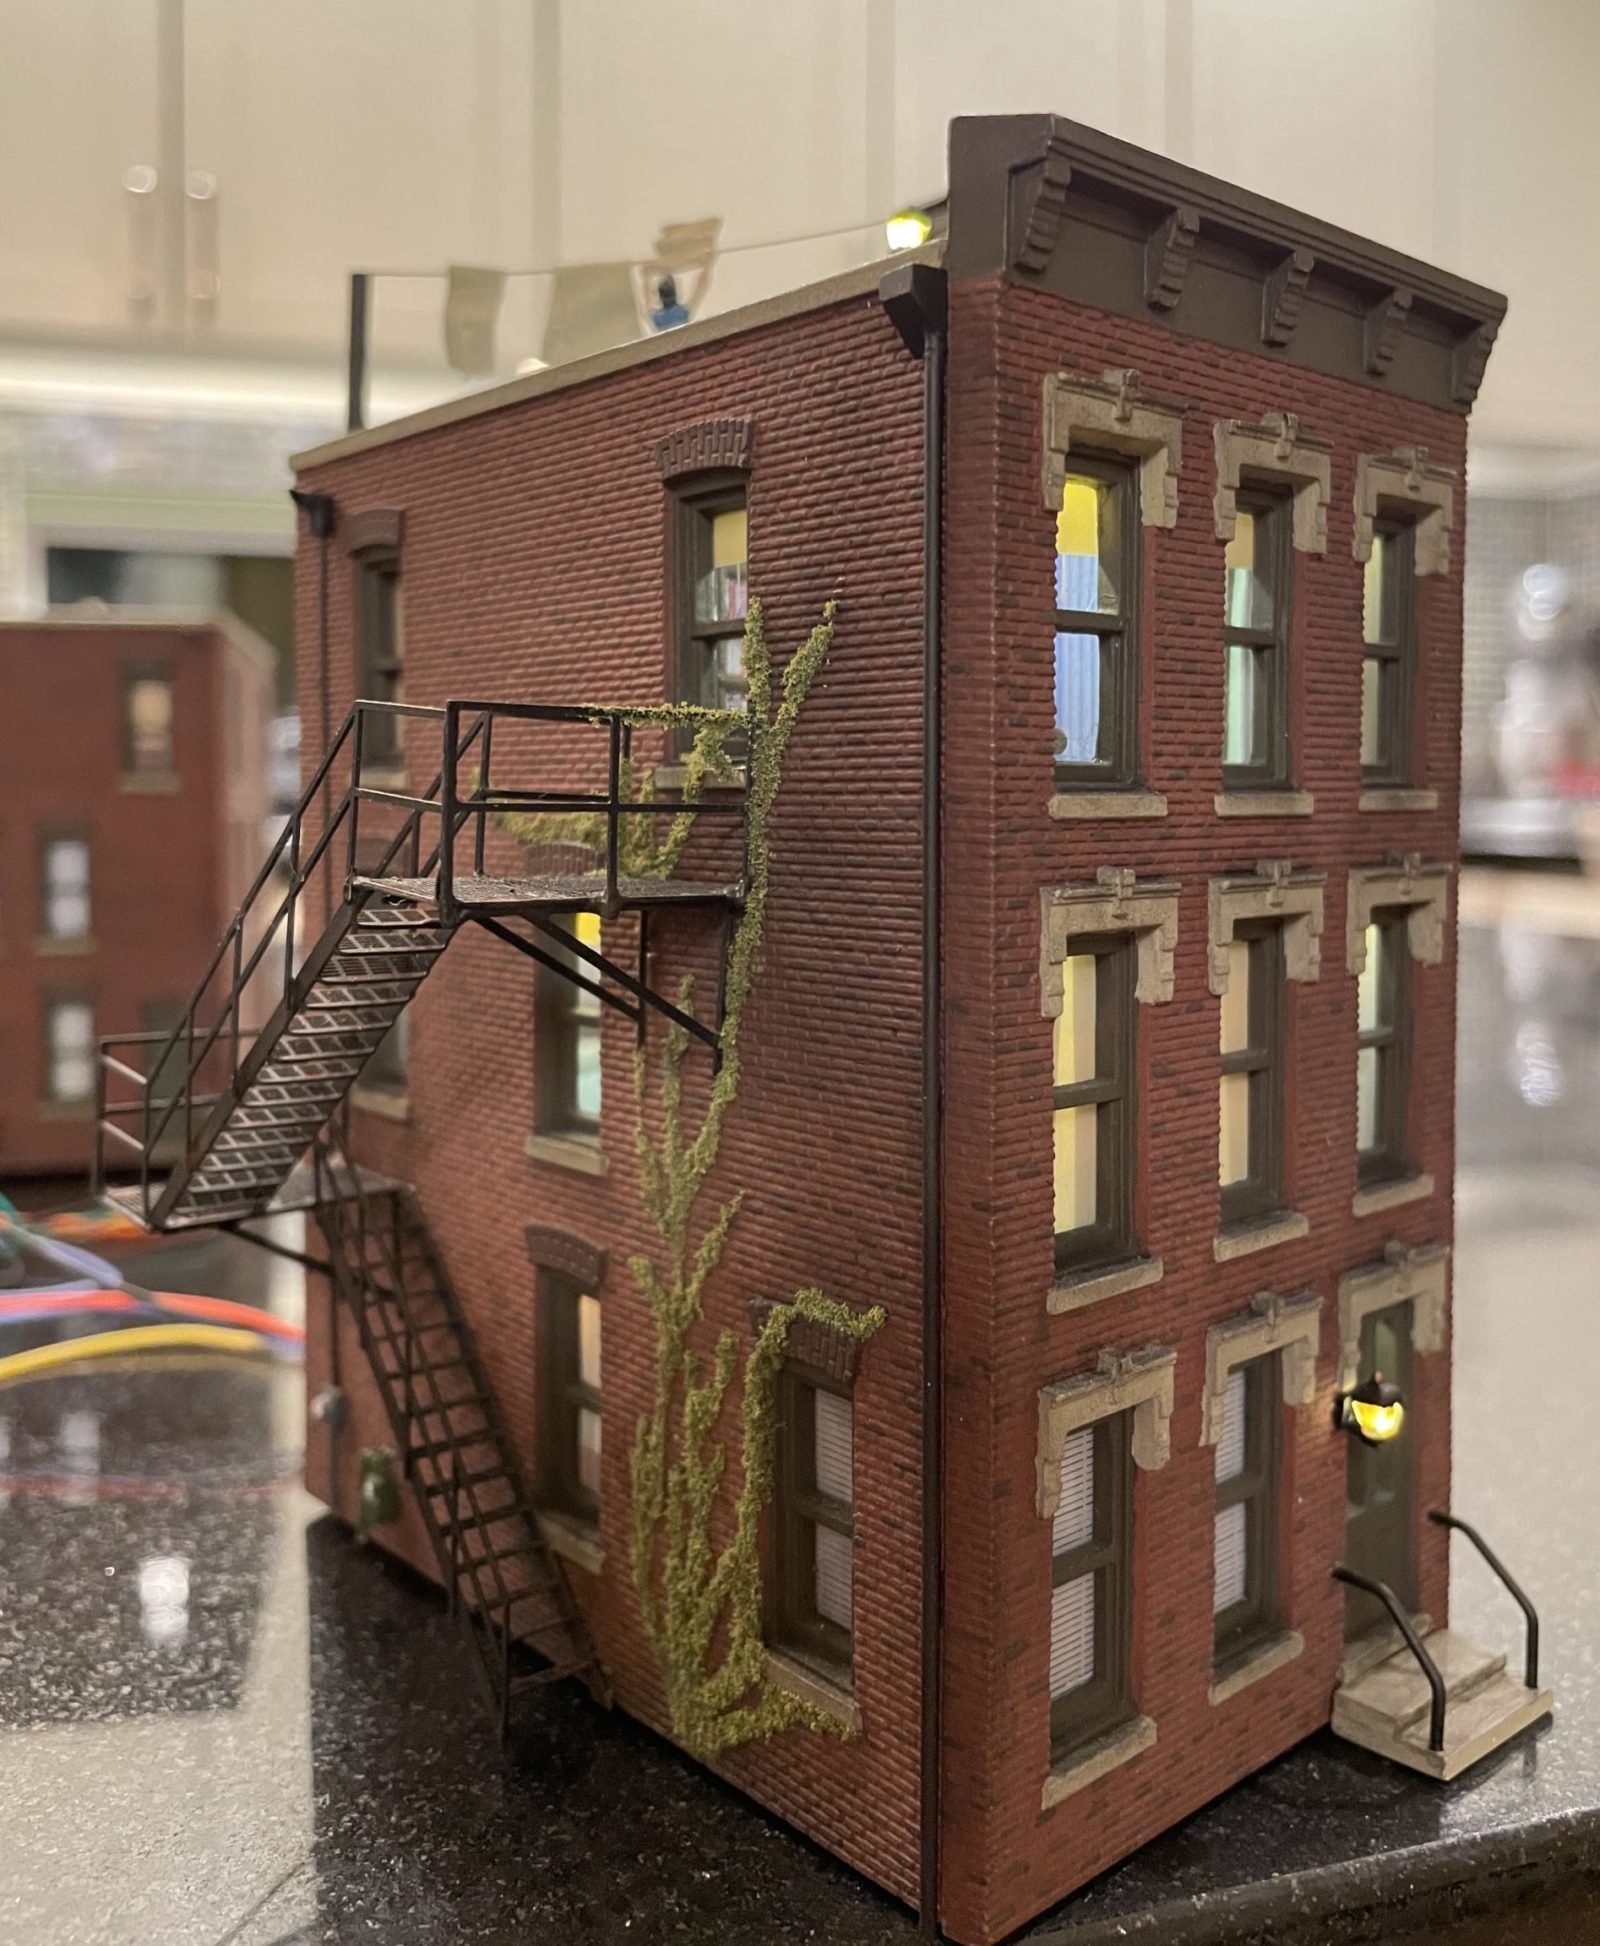
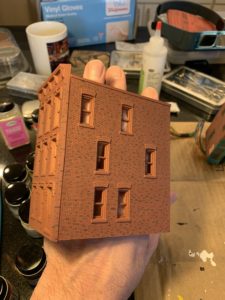
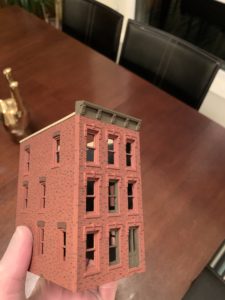
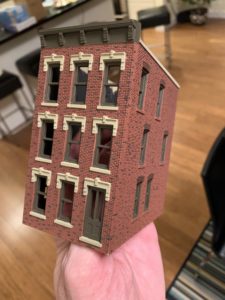
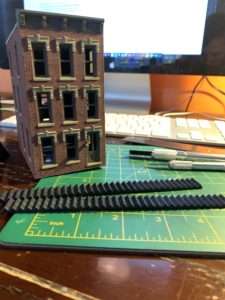
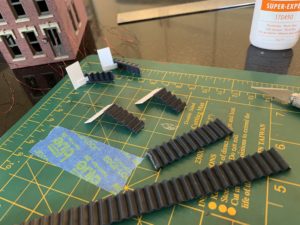
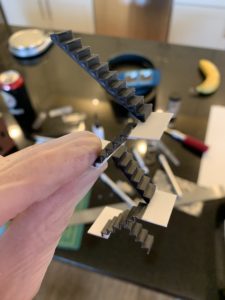
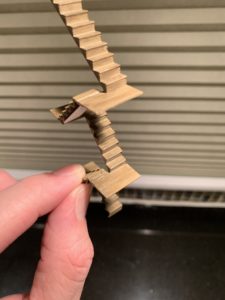
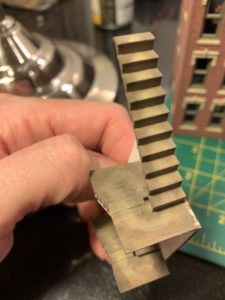
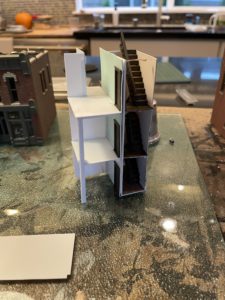
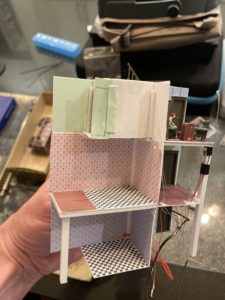
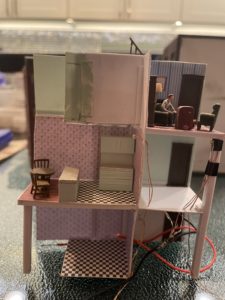
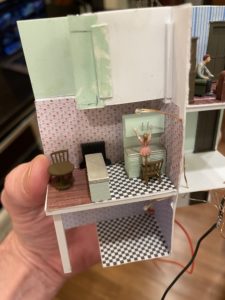
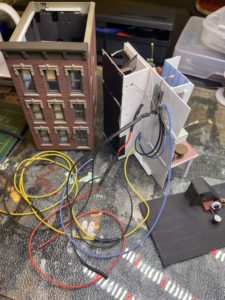
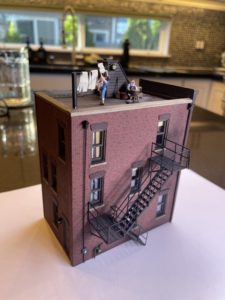
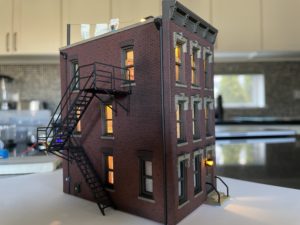
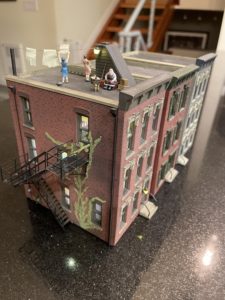
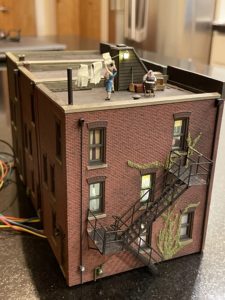
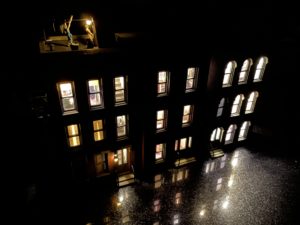
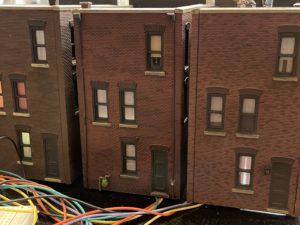
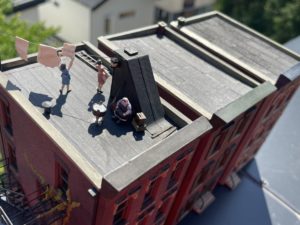
Building 3 started as the Design Preservations Models kit “Townhouse 1”. It was only the second building interior I had detailed, and my plans for it changed a lot during the process, resulting in some behind-the-scenes construction that looks a little sloppy, but I’m really happy with the visible parts, and that’s what really matters.
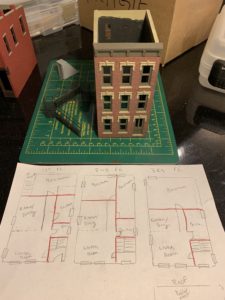
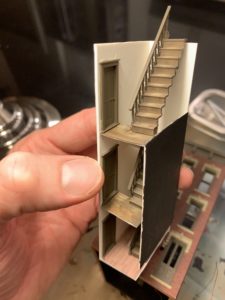
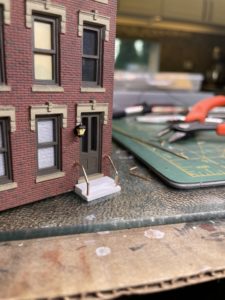
I started this project simultaneously with Building 2 in April 2019, but then didn’t touch it again until January of 2020. On March 23 that year, I began working from home, and the state’s “Stay Home, Stay Healthy” order took effect, keeping everyone at home except for essential activities. While people complained about having to stay home, I was actually excited about how much modeling time I’d have. By March 28, I finished painting the exterior, and about a month later, I sketched floor plans to figure out what interior scenes I would build. I decided the signature feature would be a stairwell visible through the door and windows above it, leading to a bulkhead on the rooftop where some women would be doing laundry in a washtub and hanging it up to dry.
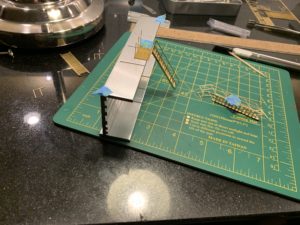
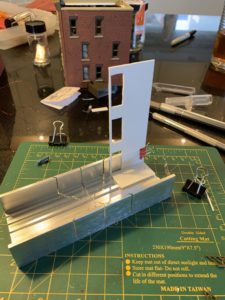
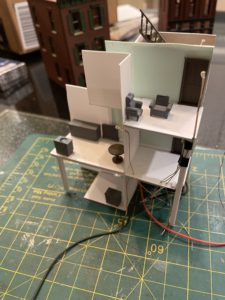
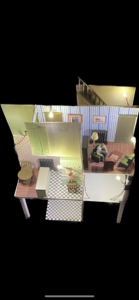
I built the stairwell scene as a self-contained module which I intended to glue into the corner of the building separate from the rest of the interior. Later, I decided to make the whole interior one removable piece, and built the other scenes off of the stairwell module. That’s when the backstage construction started looking messy. Around that time, I also simplified my plans. Instead of modeling scenes for every window, I decided to only detail two apartment scenes plus the stairwell and rooftop, and I would put drawn curtains and blinds in the other windows.
I’m pretty happy with how the stairwell scene turned out, but I had never modeled anything like it before, and progress was a little slow. By the time I finished the stairwell in early June, I felt burned out on the whole project, so I put it away and worked on other projects for a while. I picked it up again for just one day in September 2021, adding walls and floors for apartments. It sat idle again until November 2022, when I detailed the living room scene in the third floor apartment in just four days. That really got me excited about the project again, and this time the excitement remained consistent until I finished the project on May 19, 2023.
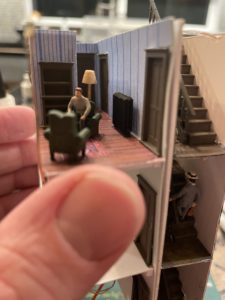
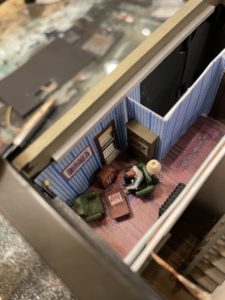
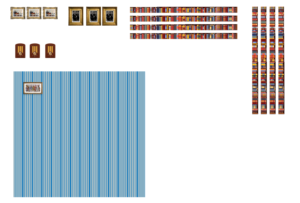
The wallpaper, hardwood floor, rugs, framed art, books and front of the radio were made in Illustrator and Photoshop, printed on paper and glued onto the styrene walls and floors. Some of the artwork was printed on the wallpaper, and some of it was printed separately and glued to the wallpaper. I think it looks better when the artwork is placed on the walls in Photoshop and printed on one layer of paper, because you can make a subtle drop shadow under the artwork in Photoshop, and you don’t have to try to disguise the white edges of the artwork paper with paint. But making the wallpaper with the artwork already placed on it takes more time to measure the precise geometry of the walls, where corners are rarely perfectly square. It can take a lot of re-editing and re-printing before it fits just right.
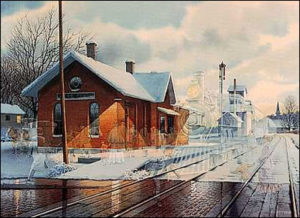
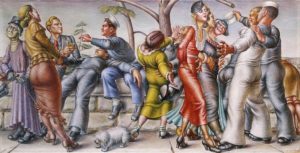
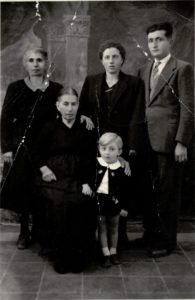
I usually adhere to the Summer of 1949 time period as much as I reasonably can, but sometimes I take personal or artistic liberties, like the 1989 watercolor on the wall, which was something my family had on our wall at home when I was a kid, and a photo of my great-great grandmother with some other relatives, taken in 1951. The painting by the window is titled “The Fleet’s In!“, by artist Paul Cadmus, who was gay, and painted it in 1934. Nobody would have had a color print of it in 1949, so this is another artistic liberty. As the scene came together, I decided it was the apartment of a “confirmed bachelor”. In this scene, the guy just sat down after tuning the radio, and the guy walking up the stairs is on his way to join him.
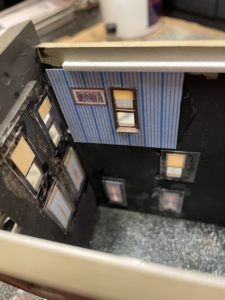
I planned the interior walls and scenes so that most windows aren’t visible through other windows, diagonally through the building, since the interior side of the windows don’t have any molded detail. The one exception is in the third floor living room scene, where I made my own interior window frame from styrene strips for the side window. I didn’t detail the interior of the front windows, because it seems unlikely that this building would be situated in a way that lets you see that through the side window.
The only other detailed interior scene is the second floor kitchen and dining room, where a little girl is standing on a chair, trying to reach into the cupboards for cookies while mom is doing laundry with neighbors on the roof. This scene is less detailed than the third floor living room, but it’s probably detailed more than it needs to be, because it’s not very visible from the outside.
The first floor kitchen scene isn’t really detailed, but I did model the window with a small opening so that you can see the impression of another kitchen, which really only consists of tiled flooring and wallpaper. The tile flooring for both kitchens was from the same graphics I created for the beauty salon in Building 7, but scaled down slightly, because I thought that would look more appropriate for a small apartment kitchen.
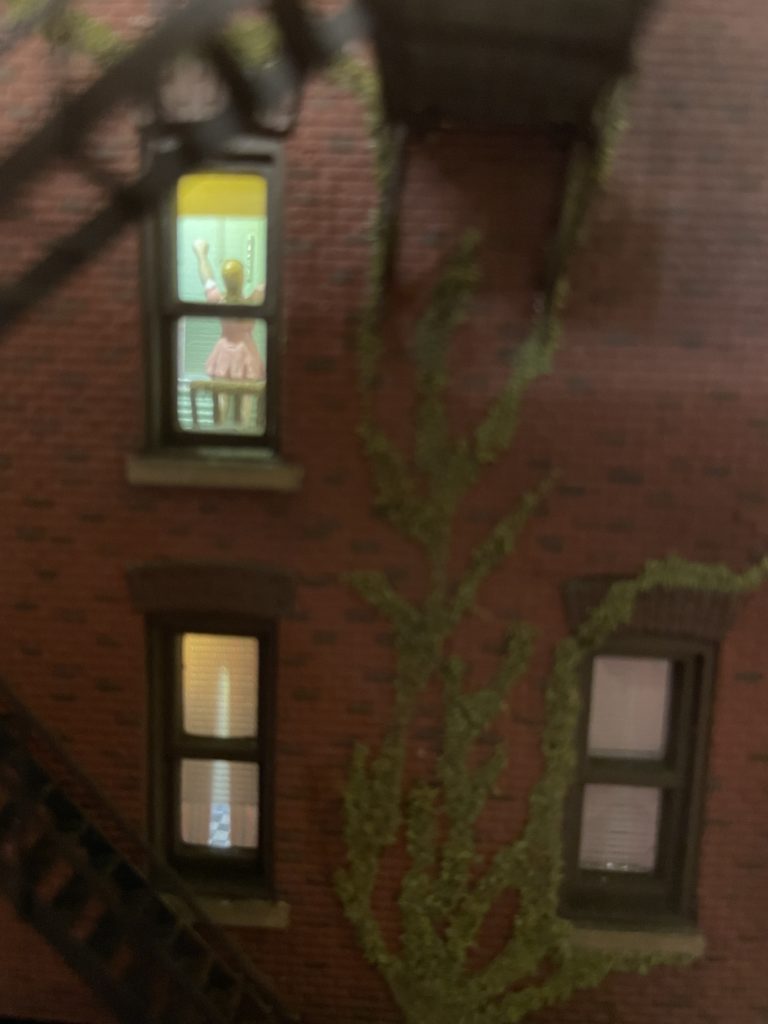
The kitchen and dining room wallpaper was created from actual 1940s wallpaper designs, which I formed into repeating patterns and scaled down. You can’t make out the details at that size, but you still get the look of wallpaper in an era-appropriate color palette.
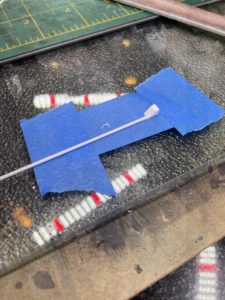
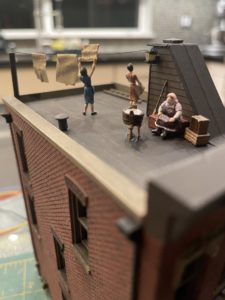
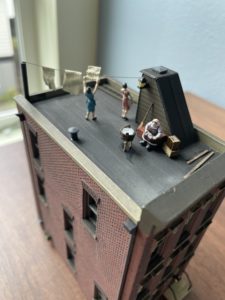
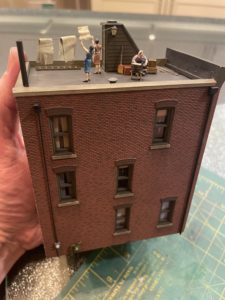
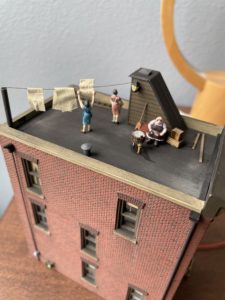
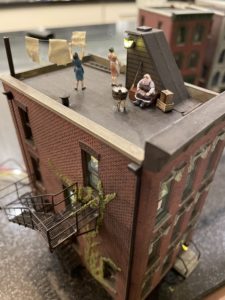
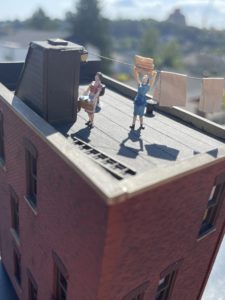
Once the interior scenes and lighting were complete, I was finally able to build the rooftop scene, which consists of a bulkhead with an exterior light fixture, an old wood washtub with water splashed underneath and running toward a rooftop drain, some crates with a woman sitting on one, a couple of spare boards, a ladder, vent, broom, clothesline strung from a pole in the corner to the bulkhead, a woman tossing a towel over the clothesline, and another woman carrying a basket of clean laundry toward the stairs. The clothesline is made of .008″ phosphor bronze wire bent into a sagging shape and airbrushed dark brown with a light topcoat of beige. One end is bent at slightly more than a 90-degree angle, and rests inside the pole, which is a styrene tube painted black. The other end is bent into a hook shape and rests behind the light fixture. I later painted the hook end of the wire the same black as the light fixture. This construction makes it easy to remove or repair the delicate clothesline in the future without causing damage to the rest of the model. The sheets hung on the line are made from slightly wrinkled blue masking tape which I airbrushed an off-white color.
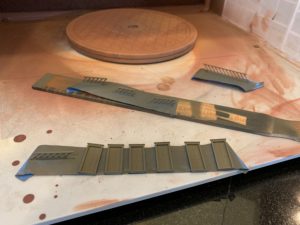
While detailing the roof, I also added electric and gas meters, which are 3D-printed parts from Shapeways. The electrical conduit leading up towards the top of the building is styrene rod painted black, and the connection at the top, where I will one day attached wires from utility poles, is made from two pieces of styrene tube cut at angles and glued together. It’s probably a little oversized. I also made a scupper and downspout out of a styrene strip and rod, painted black and placed near the front, to disguise the joint between the front and side wall.
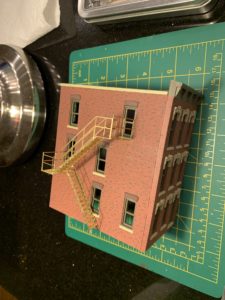
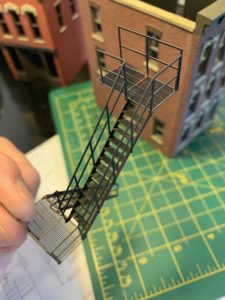
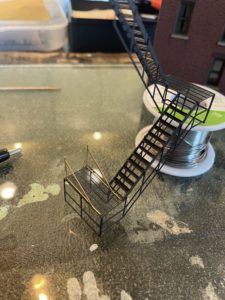
With the roof complete, I was finally able to attach the fire escape, which I had assembled and painted two years prior, but without its angled supports, which I guess I forgot about at the time of assembly. Before I could attach the fire escape, I had to glue the supports onto it with CA, which was a delicate and difficult process. I ended up soldering a couple of the joints because it wasn’t quite strong enough with just the CA. I then had to repaint and re-weather it, since the supports were still bare brass. Gluing it to the building with CA was a delicate process which I completed over several days. It needed to be bent slightly to fit around the window ledges. While gluing the upper end to the building, I smudged some CA on the brick and was unable to remove it while trying to hold the fire escape in place while the glue began to cure. I later disguised the shiny glue spots with a vine growing up the side of the building, which also helps hide the fact that the fire escape supports don’t all contact the building.
The building looked just about complete once I applied more weathering effects using PanPastels and weathering powders. After touching up a few spots here and there with paint, the last detail was an enhancement to the splashed laundry water. The original splashes were created from a base layer of flat black paint applied to the rooftop after it had been weathered, representing an area that had been splashed, but is drying and now looks damp and no longer shiny. On top of that layer, I added a little bit of clear gloss directly under the washtub, representing a small area where water was more recently splashed. The final enhancement was to make it look like more water had recently run down to the drain in the corner but has since dried enough that the roof surface is just a little darker in color. I did this by brushing on a light trail of a solution of 71% isopropyl alcohol and India ink.
My plans for this building changed a lot over the four years I spent working on it, and I learned a lot in the process, which I was able to apply to other buildings I started later. I originally thought the most prominent scene would be the stairwell, but it turns out to be the roof, which looks even better than I had anticipated.
